The Structure and Standard Sizes of Precut Fabric Rolls
A standard fabric roll, commonly referred to across quilting communities as a jelly roll, is a factory-cut bundle containing coordinating strips of cotton fabric. Each strip is cut to precisely two and a half inches wide across the entire width of the fabric bolt, which typically measures forty to forty-four inches from selvage to selvage. A standard commercial roll generally contains forty individual strips, though some specialty packs may contain thirty-five or forty-two depending on the specific textile mill.
When unrolled and sewn end-to-end, forty strips provide approximately one hundred and forty feet of continuous fabric striping. In terms of linear yardage, a complete roll equals roughly two and three-quarters yards of standard quilting cotton. Because these bundles are cut by rotary machinery at the production facility, they offer precise strip widths that save quilters countless hours of manual cutting at home.
The primary appeal of these rolls lies in color coordination. Textile companies bundle strips from a single designer collection, ensuring that every print, background, and accent tone works together harmoniously. This allows beginners and seasoned stitchers alike to bypass the often intimidating color-matching phase and jump directly into layout, chain piecing, and construction without worrying about clash or dye batch mismatches.
Comparing Fat Quarter Dimensions to Strip Bundles
While strip bundles focus on uniform width for linear sewing, fat quarters remain the foundational precut in quilting. Standard yardage cut from a bolt off the bolt shelf yields a strip measuring nine inches long by the width of the fabric, roughly forty-two inches. In contrast, a fat quarter is cut by taking a half-yard piece of fabric measuring eighteen inches along the bolt length and slicing it in half across the fold, creating an eighteen-by-twenty-one or eighteen-by-twenty-two inch rectangle.
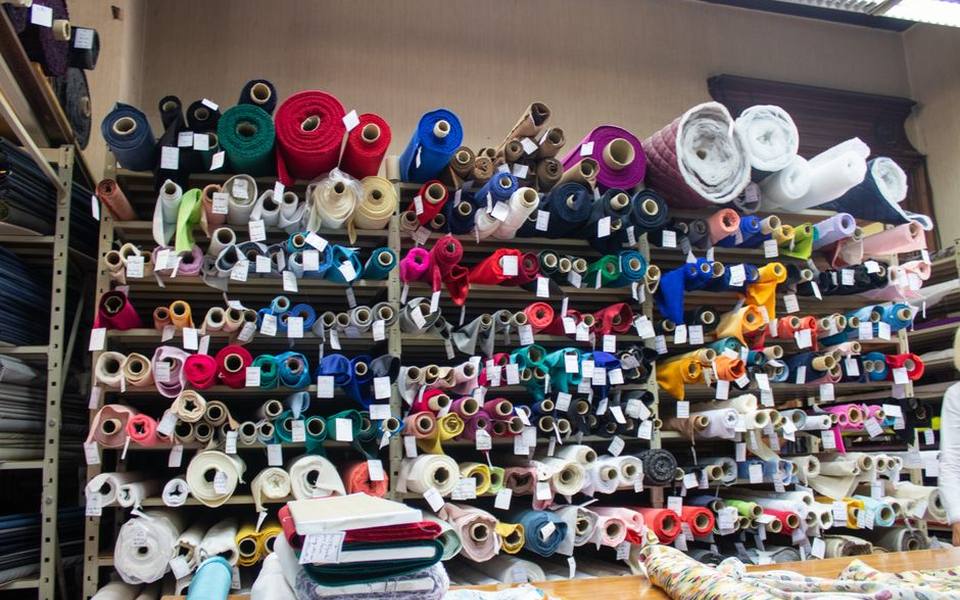
The practical difference between a regular quarter yard and a fat quarter comes down to usable surface area. While both contain identical square inches of textile, the squarish shape of the fat quarter accommodates larger block templates, appliqué silhouettes, and versatile sub-cutting that a narrow nine-inch strip simply cannot handle. Many quilters prefer to keep both formats in their sewing rooms for different structural purposes.
When planning a project, converting between precut formats is a straightforward calculation. One fat quarter can be sliced into seven individual two-and-a-half-inch strips measuring twenty-one inches long, yielding fourteen linear inches less than an uncut factory strip. Understanding these proportions makes it easier to blend leftover cuts from your stash into projects originally designed for uniform strip bundles.
Material Quality and What to Expect from Factory Precuts
The material found in commercial strip bundles is standard, high-density quilting cotton, renowned for its tight weave and stable hand during sewing. Unlike bargain apparel cottons, quilting-grade textile holds its crisp grain when pulled through feeding dogs and resists excessive stretching along horizontal grain lines. The coordinating prints are printed on balanced base cloths that tolerate the heat of hot steam irons without significant bleeding or fiber degradation.
One distinctive characteristic of manufactured strip rolls is the pinked edge. Mills cut these long strips using zigzag rotary blades to prevent excessive fraying while the strips are tightly rolled, bound with paper ribbons, and shipped to retailers. When measuring your seam allowance, standard quilting practice dictates measuring from the outer peak of the pinked zigzags or aligning the inner valley with your machine guide, maintaining consistency across every block.
A critical rule when working with rolled strip collections is to avoid prewashing. Submerging loose, narrow strips of cotton in water causes the raw edges to twist, unravel, and fray into an unmanageable knot of tangled threads. Instead, piecers assemble the quilt top dry and rely on color-catching sheets and gentle detergent during the very first post-assembly wash cycle to manage minimal shrinkage and excess dye release.
Popular Quilt Patterns Tailored for Two-Inch Finished Strips
Precut strip rolls shine brightest when paired with patterns specifically engineered for rapid strip assembly. The most famous approach is the strip race format, where all forty strips are sewn end-to-end along their short sides, folded in half, sewn lengthwise, and repeatedly sliced and rejoined until a complete throw-sized top emerges. This technique produces a dynamic, strippy visual flow that works well with modern eclectic prints.
Beyond linear race layouts, traditional patterns such as log cabins, rail fences, and courthouse steps adapt naturally to strip bundles. Because each strip finishes at two inches wide once joined with standard quarter-inch seams, you can build balanced geometric rings and alternating blocks without touching a rotary cutter for the primary block logs. This uniformity guarantees that block intersections align squarely across the entire layout.
For quilters seeking more visual movement, chevron and herringbone patterns transform strip sets into striking diagonal lines. By sewing multiple strips into wide stratas and cutting them with forty-five or sixty-degree acrylic rulers, makers achieve intricate triangular illusions. Exploring these techniques is a frequent topic in quilt shops with classes, where instructors teach accurate alignment methods for angled strip intersections.
Fast Assembly and Pretty Darn Quick Style Methods
Modern makers often look for designs that combine graphic impact with rapid assembly, often known in sewing circles as pretty darn quick style projects. These layouts minimize intricate matching points and instead use broad strip units paired with large framing squares or contrasting sashing. By relying on bold prints and large-scale cutting, a complete throw quilt top can come together across a single weekend.
The engine behind this rapid construction is chain piecing. Rather than cutting thread between individual strip units, you feed pairs under the needle consecutively in a continuous ribbon of stitching. This habit not only preserves thread but also establishes a rhythmic sewing cadence that keeps seam allowances consistent across dozens of repetitive seams, cutting assembly hours dramatically.
Sub-cutting strip stratas is another speed strategy that bypasses individual piece manipulation. Sewing four or five long strips together into a broad panel allows you to slice across the strata at two-and-a-half-inch intervals, generating four-patch or nine-patch segments instantly. This technique eliminates wobbles and keeps miniature segments squared to the straight grain of the fabric.
Calculating Roll Requirements for Different Quilt Sizes
Determining how many rolls you need depends on your desired finished dimensions and whether your chosen layout incorporates background yardage. A single forty-strip roll joined directly into a strip quilt produces a comfortable lap or baby quilt measuring roughly fifty by sixty inches without borders. To expand that project into a twin or queen layout, additional rolls or dedicated neutral yardage become necessary.
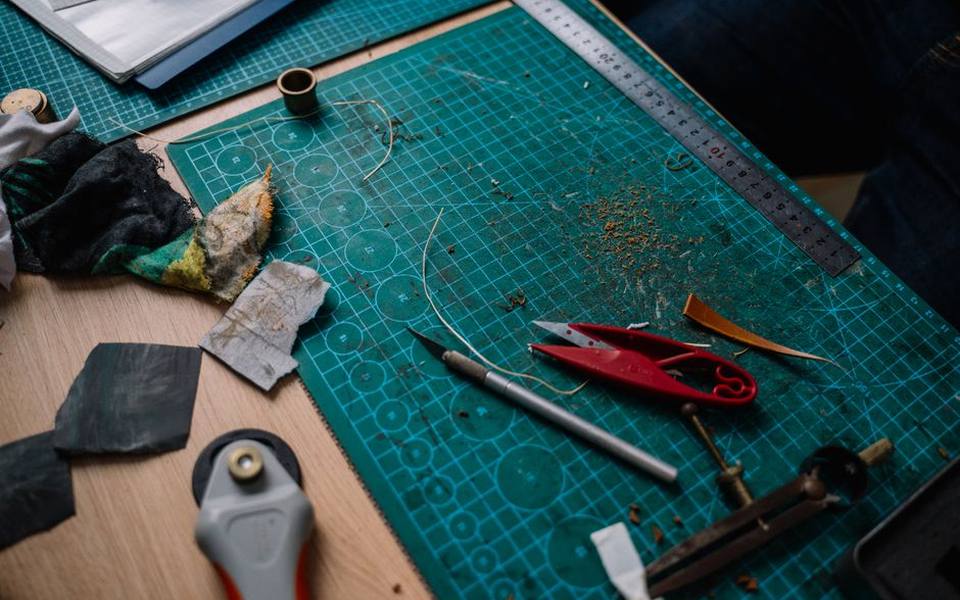
For a generous twin quilt measuring approximately seventy by ninety inches, quilters typically combine two full strip rolls, or use a single roll mixed with two to three yards of contrasting solid fabric for sashing and borders. Queen-sized quilts measuring roughly ninety by one hundred inches generally demand three full rolls, or two rolls integrated into expansive star or chain blocks surrounded by generous background framing.
When designing custom layouts, a good baseline formula is to calculate the total square inches of the quilt top and divide by seventy-five. Since a single strip yields roughly seventy to eighty square inches of usable finished patchwork once seam allowances are subtracted, this estimate helps you budget roll quantities accurately before cutting into your materials.
Pressing and Sewing Precision for Two-and-a-Half-Inch Strips
Sewing long, narrow strips together introduces the risk of bowing, where a completed panel curves like a banana instead of lying flat. To prevent this distortion, stitchers alternate the direction of sewing with each consecutive strip: sew the first seam from top to bottom, the second seam from bottom to top, and continue alternating throughout the assembly. This balances tension and keeps the panel straight.
Seam allowance precision is paramount when assembling strip quilts. A difference of just one thread width across forty seams compounds into a noticeable loss of finished width and causes wavy borders. Calibrating your sewing machine to a true scant quarter-inch seam ensures that each sewn strip finishes at exactly two inches from seam line to seam line. If your machine drifts, visiting an independent shop for a checkup can restore proper feed dog alignment.
Pressing technique matters just as much as stitching accuracy. Never slide the iron vigorously back and forth across raw bias edges, as the heat and friction will stretch the long cotton strips out of shape. Instead, lift and press the iron down firmly, allowing the heat to set the seam before gently directing the seam allowance toward the darker fabric or pressing it open to reduce bulk.
Shopping for Precut Bundles in Local Quilt Shops
While buying fabric online offers convenience, inspecting rolled bundles in person provides a tactile advantage. Physical quilt shops display rolls alongside their parent collections, allowing you to see the true scale of prints and inspect the subtle texture of the base cloth. Brick-and-mortar retailers also stock solid coordinating rolls that blend seamlessly with patterned collections.
Local shops are staffed by knowledgeable crafters who understand the yardage yields of specific bundles and can suggest the perfect backing and binding yardage to complete your project. Many regional hubs carry specialized seasonal lines that sell out quickly through mass distributors, making a local visit the best way to secure limited-edition designer runs.
Whether you are browsing coastal boutiques in quilt and fabric shops in California or visiting expansive rural retailers among quilt and fabric shops in Texas, local shops remain the heart of the quilting community. These locations provide the inspiration, specialized rulers, and rotary replacement blades required to turn rolled strips into enduring family heirlooms.
Quilting and Finishing Considerations for Strip-Pieced Tops
Once your strip quilt top is assembled and thoroughly pressed, the next step is choosing a quilting style that complements the linear design. Strip quilts naturally lend themselves to modern straight-line quilting using a walking foot on a standard home machine. Stitching parallel lines half an inch apart emphasizes the clean geometry of the patchwork while keeping the batting securely anchored.
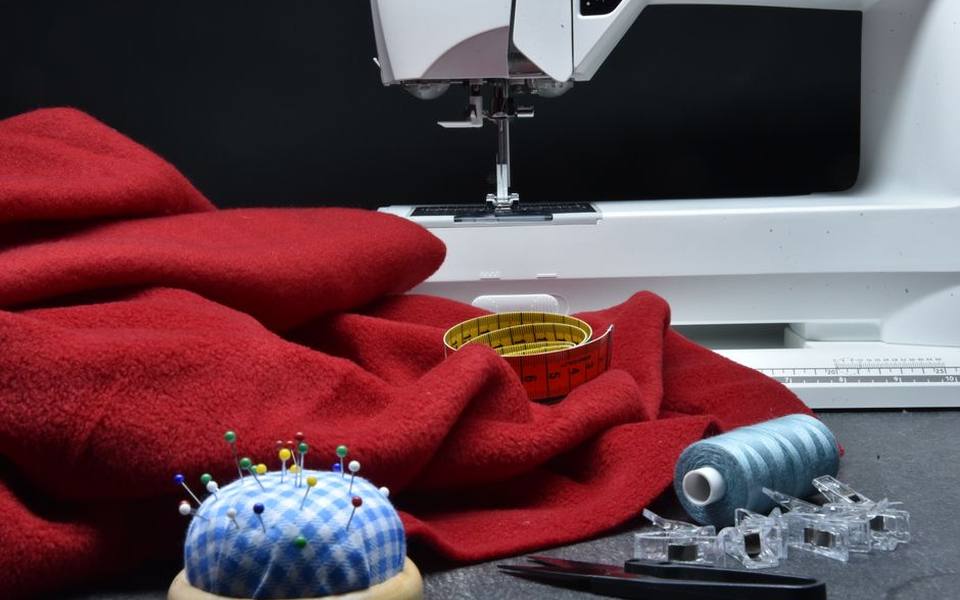
For complex layouts like log cabins or star designs made from strip stratas, edge-to-edge swirling motifs provide an appealing textural contrast to the sharp geometric corners. If wrestling a queen-sized top under a home sewing machine arm feels daunting, quilters frequently partner with professional longarm quilting services to apply continuous pantograph patterns with automated precision.
Binding the finished quilt often utilizes remaining pieces from your original roll. Joining leftover strips on a forty-five-degree bias angle creates a colorful, scrappy binding that ties the entire color palette together along the outer perimeter. Ensure you press the binding strip in half lengthwise with a hot iron to guarantee a crisp, protective finish for the quilt edges.
Care, Washing, and Long-Term Durability of Precut Quilts
Caring for a newly completed strip quilt requires gentle handling during its maiden voyage through the laundry. Because precut strips are not prewashed, initial laundering will cause the natural cotton fibers to shrink slightly, typically around three to five percent. This shrinkage is desirable, as it creates the cozy, puckered antique texture cherished by traditional quilters.
To safeguard contrasting light and dark fabrics from dye migration during that initial cycle, include two to three commercial dye-trapping sheets in the washing drum. Wash the quilt in cold water using a mild, fragrance-free liquid detergent on a gentle cycle, avoiding harsh bleaches or heavy fabric softeners that leave chemical residues on natural cotton fibers.
Tumble dry the quilt on low heat until it is slightly damp, then spread it flat across clean drying racks or blankets to finish drying naturally. Storing the finished heirloom away from direct sun exposure prevents ultraviolet fading along the delicate pieced seams, ensuring your strip quilt remains vibrant and structurally sound across generations of regular use.
Published 2026-09-21 · reviewed with each rebuild, last September 2026.
Find quilt & fabric shops near you
The directory lists 33,981 quilt & fabric shops by state and city — pick your state or use the “Near me” button in the header.
More guides
-
 Buying
Where to Buy Fabric: Sourcing Alternatives Online and Locally
-
 Service
DIY Zipper Repair and Simple Clothing Alterations Guide
-
 Buying
Beginner Embroidery Kits and Thread Selection: What to Know Before You Stitch
-
 Buying
Where to Buy Yarn for Knitting and Crochet: Sourcing Guide
-
 Buying
Beginner's Guide to Quilting and Essential Sewing Supplies
-
 Buying
Essential Guide to Sewing and Quilting Notions
-
 Owning
How to Make a DIY T-Shirt Quilt: Step-by-Step Guide
-
 Buying
Choosing Beginner Sewing Machines: Janome Models and Maintenance Costs
-
 Buying
Cross Stitch and Embroidery Supplies: Aida Cloth, Floss, Kits, and Patterns
-
 Buying
Fabric Selection Guide: Cotton, Linen, Velvet, Fleece, and Synthetic Blends
-
 Buying
Quilting Patterns, Blocks, and Techniques: From Log Cabin to Paper Piecing
-
 Service
Complete Guide to Clothing Alterations and Tailoring Services
-
 Owning
Sewing Machine Needles, Bobbins, and Thread Compatibility Guide
-
 Owning
Beginner Sewing Machines: Selection, Oiling, and Repair Basics
-
 Buying
Sunbrella and Outdoor Fabrics Guide: Selection, Cushions, and Care