What makes an embroidery kit truly beginner-friendly
A good starter kit should remove frustration before you even take your first stitch. When browsing project packages, look for pre-printed fabric patterns where the outline rinses away in cold water after you finish stitching. Pre-printed linen blends or medium-weight woven cottons keep fabric stable while you work, whereas thin, stretchy knits or loosely woven muslin will distort easily under hoop tension. The kit should also clearly label which stitch corresponds to each line on the design, rather than leaving you to guess.
Hardware quality matters just as much as the printed pattern. Inexpensive sets often include flimsy plastic rings that slip lose mid-project or splintery bamboo hoops with stripped screws. A sturdy wooden hoop with brass hardware or a smooth tension-spring hoop holds your base taut like a drumhead, which is the secret to clean, even stitch work. If the hoop cannot maintain tension, your fabric puckers and even the most careful stitches will look uneven.
Finally, check what type of needles and instructions come inside the box. A complete starter pack should supply crewel or embroidery needles, which feature elongated eyes designed to thread multiple strands of fiber without fraying the tips. Comprehensive guides will illustrate basic maneuvers like the backstitch, French knot, satin stitch, and lazy daisy with step-by-step diagrams rather than brief written summaries.
Understanding the difference between embroidery floss and machine thread
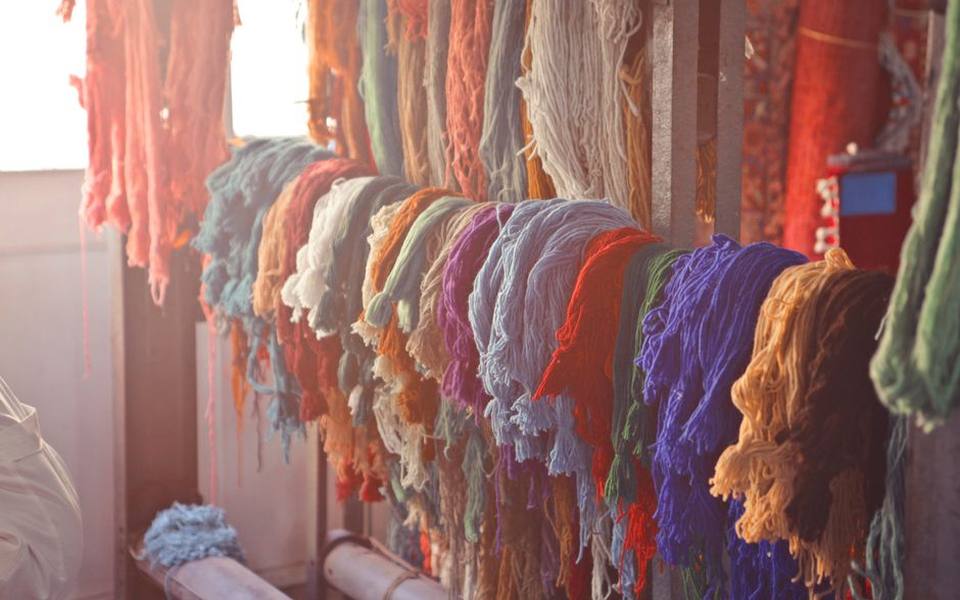
New stitchers frequently wonder if the spools sitting in their sewing box can be used interchangeably with embroidery skeins. Hand embroidery traditionally uses six-strand cotton floss, sold in loose skeins with two pull tabs. This thread is divisible, meaning you can strip it into two, three, or four individual plies depending on how heavy you want an outline or fill to appear. The fibers are soft, matte, and designed to lay flat against the cloth without excessive sheen.
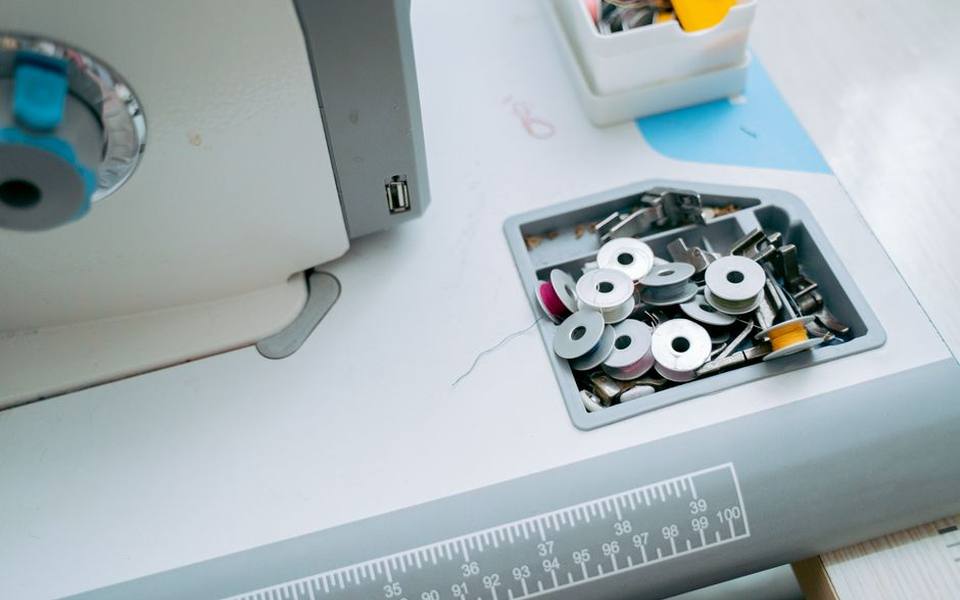
Machine embroidery thread, by contrast, is completely non-divisible and wound tightly onto tall cones or upright spools. It is engineered with high tensile strength and minimal lint so that computerized or standard sewing mechanisms can pull it through needles at speeds approaching eight hundred stitches per minute without snapping. If you try to feed hand floss into an automated device, it will quickly shred and clog the bobbin race.
Using machine filament for hand stitching creates the opposite issue. Because machine thread is twisted tightly and carries a silicone or wax coating to slip through mechanical tension discs, it tends to curl, tangle, and untwist when pushed and pulled manually through woven fabric. If you are exploring mechanized work or custom lettering, visiting shops that specialize in Embroidery & Monogramming can show you firsthand how different weights perform across diverse textiles.
Essential tools to assemble beyond the starter package
While all-in-one kits provide the basics, a few supplemental tools make your practice far more enjoyable. A dedicated pair of four-inch embroidery scissors with fine, needle-sharp blades is worth acquiring immediately. Standard household shears or dull utility snips chew through multi-strand floss instead of slicing cleanly, leaving ragged ends that refuse to pass through needle eyes.
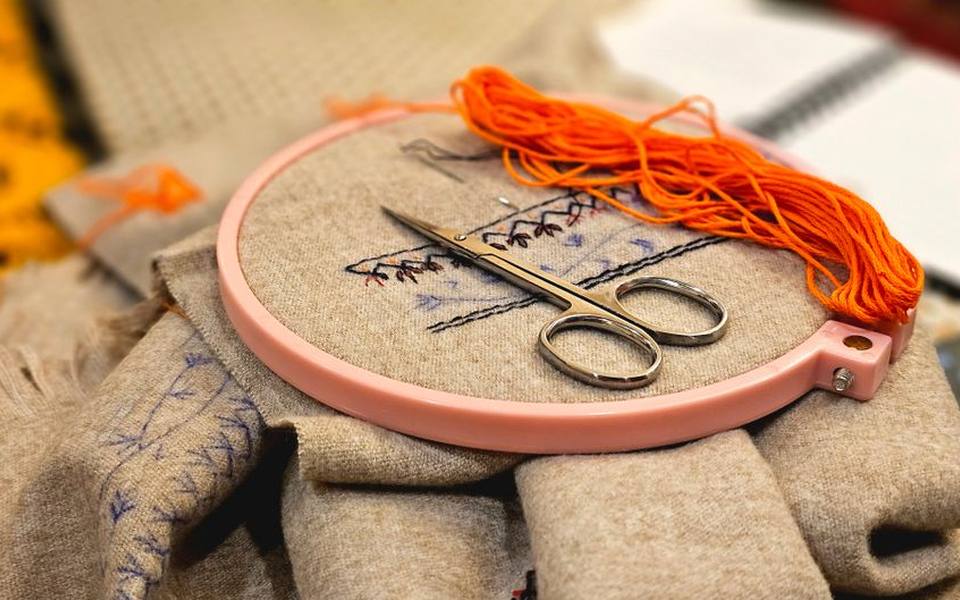
Thread management is another area where starter kits usually fall short. Inexpensive sets typically supply floss draped across paper cards with punched holes, which quickly turns into a tangled knot. Purchasing plastic bobbins and a small winding box allows you to label your color codes neatly and unwind only the length you need, which is typically around eighteen inches to prevent knotting while pulling stitches.
You may also want a water-soluble fabric marking pen and a small container of natural beeswax or synthetic thread conditioner. Lightly drawing extra reference marks directly onto your backing fabric helps keep spacing consistent as you fill shapes. Thread conditioner softens raw fibers, cuts down on static cling, and reduces knotting, which is particularly helpful if you work with metallic or satin floss.
Choosing the right thread for machine stitching projects
If you are stepping into mechanized stitching rather than hand needlework, fiber selection shifts entirely. The two dominant choices for machine work are polyester and rayon. Forty-weight polyester is the industry standard for general projects, athletic garments, and quilts because it resists bleach, withstands repeated hot-water washing, and holds its bright color over years of wear.
Rayon offers a high, liquid-like luster and softer drape than polyester, making it popular for decorative accents, vintage heirloom pieces, and delicate fabrics. However, rayon thread has slightly lower tensile strength and can weaken when exposed to certain laundry detergents or excessive friction. When configuring your equipment, remember that pairing your top thread with lightweight sixty-weight bobbin thread keeps the underside of your design smooth and flat.
Machine performance also relies heavily on matching needle gauge to thread thickness. Feeding forty-weight polyester through a standard universal sewing needle often causes shredding at the eye. Specialized embroidery needles feature a larger eye, an expanded scarf, and a rounded light ball point designed to clear thread without friction. If your equipment skips stitches or tears filament, visiting shops that handle Quilt Shops with Sewing Machine Sales & Service helps diagnose whether the issue stems from needle size or tension settings.
Where to find quality supplies and hands-on guidance
Big-box retail craft aisles stock basic thread racks, but independent fabric stores and sewing centers provide much higher consistency and color variety. Independent shops generally store thread in climate-controlled environments away from direct sunlight, ensuring cotton fibers have not degraded or become brittle from shelf age. They also carry reputable European and Japanese needle brands that stay sharp through dense linen and canvas.
Learning through trial and error can be slow, especially when mastering complex textured knots or tension balancing. Signing up for sessions through Quilt Shops with Classes connects you with experienced instructors who can correct your hoop-holding technique, demonstrate proper thread stripping, and recommend sturdy base fabrics. An hour of hands-on coaching often solves problems that hours of video tutorials cannot clarify.
Before investing heavily in bulk spools or advanced multi-piece kits, consider visiting local retailers to handle different hoop materials and fiber skeins in person. Browsing our nationwide directory on quiltshopatlas.com makes it easy to discover specialty sewing and needlework merchants in your area where staff can help you pick the exact supplies needed for your first successful project.
Published 2026-09-20 · reviewed with each rebuild, last September 2026.
Find quilt & fabric shops near you
The directory lists 34,002 quilt & fabric shops by state and city — pick your state or use the “Near me” button in the header.
More guides
-
 Buying
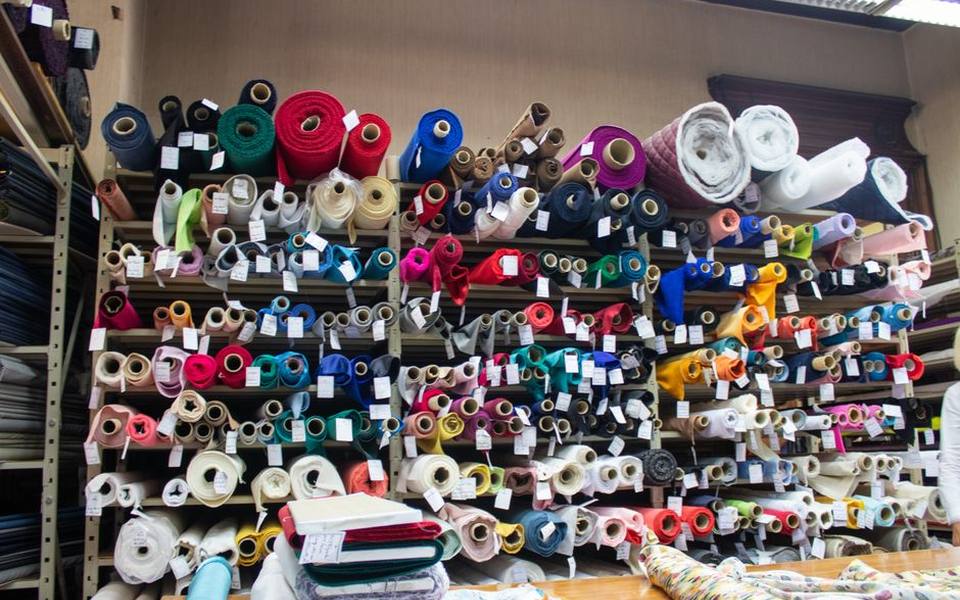
Where to Buy Fabric: Sourcing Alternatives Online and Locally
-
 Service
DIY Zipper Repair and Simple Clothing Alterations Guide
-
 Buying
Where to Buy Yarn for Knitting and Crochet: Sourcing Guide
-
 Buying
Beginner's Guide to Quilting and Essential Sewing Supplies
-
 Buying
Essential Guide to Sewing and Quilting Notions
-
 Owning
How to Make a DIY T-Shirt Quilt: Step-by-Step Guide
-
 Buying
Choosing Beginner Sewing Machines: Janome Models and Maintenance Costs