Gathering and Sorting Your Shirt Collection
Making a t-shirt quilt begins by rough-cutting your shirts, stabilizing the stretchy jersey fabric with fusible interfacing, trimming the panels into square or rectangular blocks, and sewing them together with balanced borders. Turning worn jerseys, concert merchandise, and athletic uniforms into a cozy blanket preserves sentimental clothing that would otherwise sit in storage tubs. The entire process takes patience, but following a steady sequence ensures the stretchy knit behaves like sturdy woven fabric on your sewing machine.
Start by gathering clean shirts and evaluating each graphic. Look closely at chest prints, back graphics, pocket designs, and sleeve logos. Most quilts look best when you choose a cohesive theme, such as high school sports, college memories, marathon bibs, or band tours. A standard throw quilt typically requires between twelve and twenty adult shirts, while a queen-sized project often calls for thirty or more panels depending on block sizing.
Sort your garments by color, fabric weight, and graphic size. While standard cotton tees are the easiest to work with, tech-fabric athletic shirts and blended polyester tops can also be used if handled carefully. If you need matching sashing fabric, thread, or coordinating yardage for borders, you can locate supplies through regional quilt and fabric shops to match the color palette of your collection.
Rough Cutting and Fabric Preparation
Always wash and dry your shirts before cutting into them, but avoid using liquid fabric softener or dryer sheets. Softener leaves a coating on the knit fibers that prevents fusible interfacing from bonding permanently. If a shirt is particularly wrinkled, press it gently from the reverse side using medium heat, avoiding direct iron contact with rubbery vinyl prints.
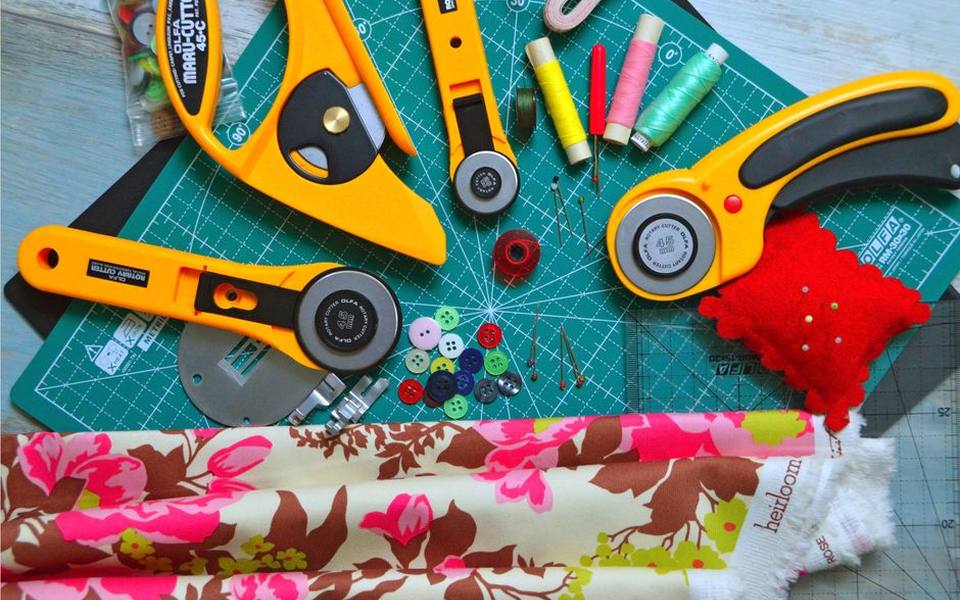
To rough cut, lay the shirt flat on a cutting mat and slice up the side seams with standard dressmaker shears. Cut across the shoulders and around the armholes to separate the front and back into two flat panels. At this stage, do not attempt to cut the graphic down to its final finished size. You want to leave at least one to two inches of excess fabric on all four sides of the artwork.
Do not throw away the back panels or sleeve remnants immediately. Plain jersey yardage from the backs of shirts can serve as filler blocks, border trim, or test swatches for testing iron heat. If a shirt has a tiny logo on the front pocket and a large print on the back, you can use both sections as distinct elements in your final design layout.
Stabilizing Jersey Knits with Fusible Interfacing
T-shirt knits are designed to stretch, roll, and give when worn, which makes them notoriously difficult to piece into a straight quilt top. The secret to a flat, wave-free memory quilt is backing every knit piece with a lightweight, non-woven fusible interfacing. The interfacing stabilizes the knit fibers, locking them in place so they behave exactly like traditional woven quilting cotton under your machine foot.
Cut your interfacing sheets slightly larger than the graphic area you intend to use. Place your t-shirt panel face down on your pressing surface with the wrong side of the fabric facing up. Lay the textured, glue-dotted side of the interfacing against the raw back of the shirt, and use a damp pressing cloth or parchment paper to shield your iron from exposed adhesive edges.
Press the iron straight down firmly for ten to fifteen seconds per section, lifting the iron rather than sliding it across the surface. Sliding can distort the warm knit and create permanent ripples. Once fused, allow the piece to cool completely on a flat table before moving it. If you have never worked with fusible products, introductory workshops at local quilt shops with classes can help you master correct heat and pressure settings without scorching your shirts.
After cooling, run your hand across the fabric to confirm the edges have bonded smoothly. If any corners lift, touch them again with the iron using slightly firmer pressure. Proper stabilization prevents the blocks from puckering, shifting, or pulling out of alignment later during piecing and quilting.
Trimming Blocks and Planning the Layout
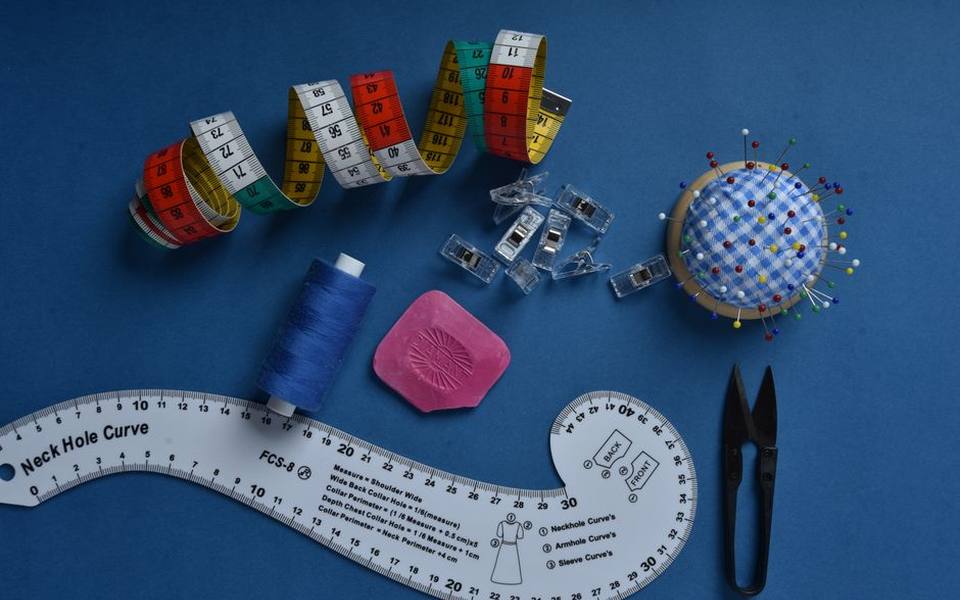
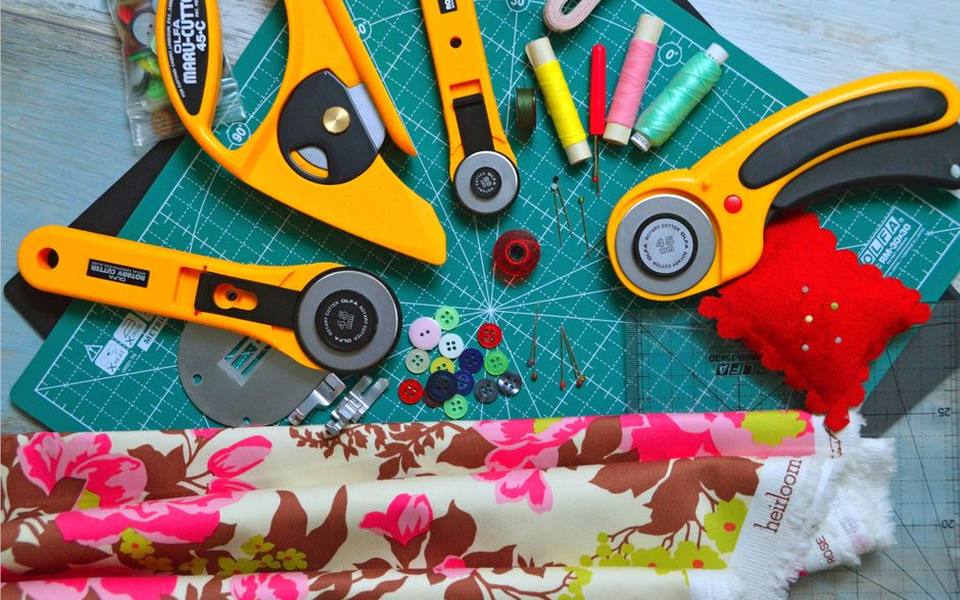
Once every shirt panel is stabilized, trim the pieces into clean, square blocks using a clear acrylic square ruler and a sharp rotary cutter. Choosing a single standard dimension, such as fourteen by fourteen inches, produces an easy grid layout for beginners. Center the graphic beneath your ruler markings, ensuring equal margins on the left and right, and slice away the excess stabilized fabric.
If your collection includes graphics of radically different sizes, you can create a mosaic or puzzle-style layout using variable block sizes. Smaller pocket logos can be framed with coping strips made of quilting cotton to bring them up to half-block dimensions. This method takes more math and measuring, but it accommodates oversized basketball jerseys and tiny pocket prints in the same quilt top.
Arrange your trimmed blocks on a clean floor or design wall to balance colors, logo styles, and visual contrast. Distribute dark and vibrant blocks evenly across the grid so the finished blanket feels balanced. Take a clear photograph with your smartphone before sewing anything together; referencing the photo keeps you from stitching pieces into the wrong rows.
Assembling the Quilt Top and Sewing Rows
Adding cotton sashing between your blocks creates visual separation and makes piecing much simpler. Cut long strips of cotton yardage—typically two to three inches wide—and pin them between neighboring blocks within each horizontal row. Sashing prevents two dark or competing logos from crowding each other and provides straight reference lines across the entire quilt top.
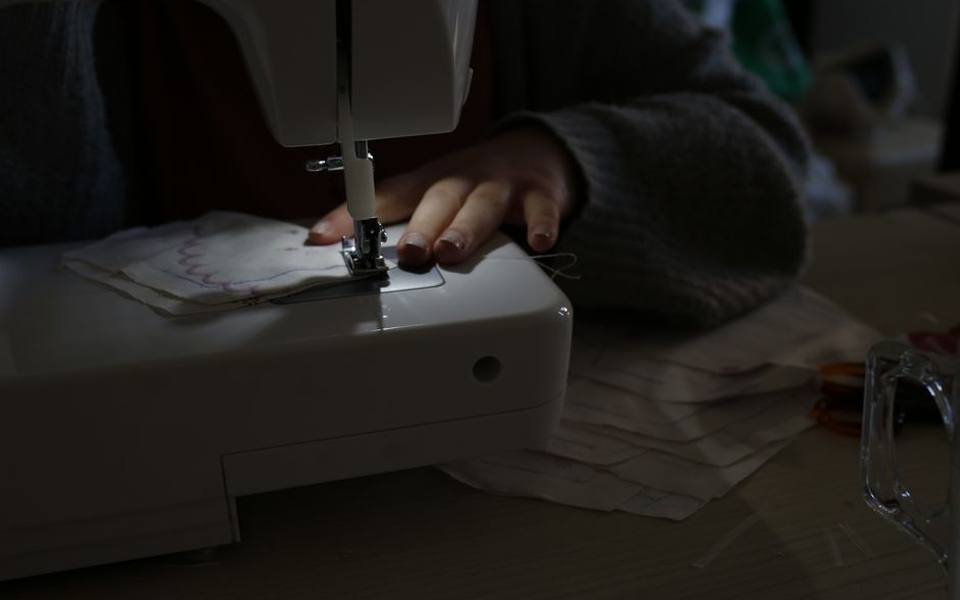
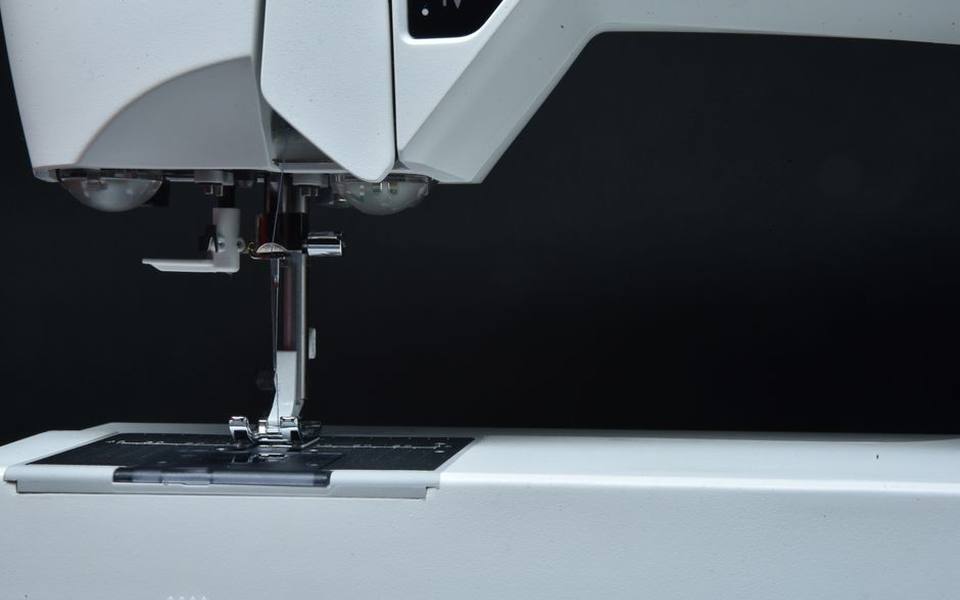
Sew your blocks using a standard universal or jersey sewing machine needle, size 80/12, threaded with dependable 50-weight cotton or polyester thread. Maintain a strict quarter-inch seam allowance throughout assembly. Because the stabilized t-shirt knits have more thickness than plain fabric, sew at a moderate speed and use plenty of pins to prevent shifting.
Press every seam allowance carefully after stitching each row. Pressing seams toward the woven cotton sashing reduces bulk at the intersections. If your sewing machine skips stitches or begins jamming when traveling over thick collar seams, taking the unit for professional sewing machine repair can correct feed dog alignment, timing, or tension imbalances before you ruin sentimental garments.
Layering, Quilting, and Finishing
Once your quilt top is assembled, create a quilt sandwich by layering your backing fabric right-side down, adding a layer of batting, and centering the pieced top right-side up. Soft cotton flannel or high-quality quilt backing works wonderfully for the reverse side. Secure all three layers thoroughly with curved brass safety pins every four inches, starting from the center and working outward.
For home machine quilting, install a walking foot or dual-feed attachment to keep the layers moving together smoothly without bunching. Simple straight-line stitching down the sashing seams or diagonal grid lines across the blocks provides adequate security while avoiding dense stitches over heavy, rubberized graphic areas.
Managing the sheer weight and volume of a full-size memory blanket on a domestic sewing machine can be physically demanding. Many quilters prefer to baste their top and hand it off to professional longarm quilting services, where computerized frame machines handle the stitching quickly with even tension.
Finish the quilt by squaring the raw edges and attaching a double-fold binding strip around the perimeter. Sew the binding to the front with your machine, fold it cleanly over the edge to cover the raw stitches, and stitch it down by hand or machine for a durable finish that will withstand years of regular laundering.
Published 2026-09-20 · reviewed with each rebuild, last September 2026.
Find quilt & fabric shops near you
The directory lists 34,002 quilt & fabric shops by state and city — pick your state or use the “Near me” button in the header.
More guides
-
 Buying
Where to Buy Fabric: Sourcing Alternatives Online and Locally
-
 Service
DIY Zipper Repair and Simple Clothing Alterations Guide
-
 Buying
Beginner Embroidery Kits and Thread Selection: What to Know Before You Stitch
-
 Buying
Where to Buy Yarn for Knitting and Crochet: Sourcing Guide
-
 Buying
Beginner's Guide to Quilting and Essential Sewing Supplies
-
 Buying
Essential Guide to Sewing and Quilting Notions
-
 Buying
Choosing Beginner Sewing Machines: Janome Models and Maintenance Costs