Solving Everyday Zipper Jams and Separations
Most zipper failures do not require buying a brand-new closure or discarding a favorite jacket. In a large number of cases, teeth that refuse to mesh or a track that pulls open behind the slider stem from a worn slider body rather than damaged coil teeth. Over months of regular pulling, the metal flanges on the back of the slider spread slightly wider, which prevents the two rows of teeth from interlocking at the precise angle they need to stay closed.
You can often resolve this issue in a few minutes using a standard pair of needle-nose pliers. Gently squeeze the side plates of the slider while it rests near the bottom stop, applying steady, modest pressure so you do not crack the cast metal. Test the pull after each small squeeze to see if the track stays joined; over-tightening can jam the slider entirely or cause it to shave plastic coils down over time.
If teeth are missing near the bottom of a jacket or pant fly, you can create a new stop without ripping out the entire assembly. Thread a heavy needle with sturdy polyester thread, wrap multiple tight loops across the track just above the damaged segment, and knot securely on the reverse side. This simple thread bar prevents the slider from traveling into the ruined zone and restores basic function for casual daily wear.
Replacing a Completely Broken Zipper
When teeth are stripped along the middle of the track or the fabric tape itself is torn, full removal becomes the only dependable solution. You will need a fine seam ripper, sewing pins, an appropriate replacement zipper of matching length and weight, and a zipper foot for your sewing machine. Taking clear photos of how the original ends are tucked into the waistband or collar facing before you unpick any stitches saves significant guesswork later.
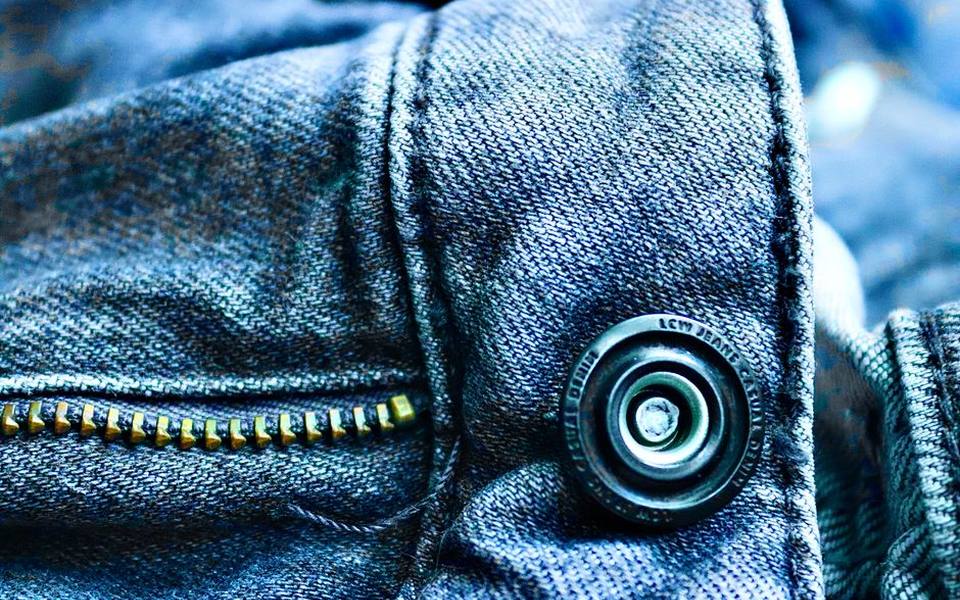
Carefully slice the factory topstitching holding the old tape to the garment, clearing away loose threads and pressing the seam allowances flat with an iron. Pin or baste the new zipper tape in position so the teeth align evenly with the garment edge, keeping the pull tab slightly below the top seam. Using a dedicated zipper foot allows your needle to stitch very close to the teeth without riding up on the coil ridges.
If you prefer to outsource the job, local alterations and tailoring shops handle full removals routinely. A basic pant fly zipper replacement cost typically ranges between fifteen and thirty dollars, whereas heavy winter parkas or lined leather coats can run noticeably higher due to the sheer number of structural seams the tailor must reopen and reseal.
Hemming Denim Jeans While Preserving the Factory Edge
Shortening jeans at home often looks obvious because factory hems feature distinctive washed abrasion and thick, chain-stitched thread that standard home machines cannot easily duplicate. The most popular alteration technique keeps that original hem intact by folding the extra fabric inward rather than cutting it off immediately. You measure the excess inseam length, divide that measurement in half, and fold the hem upward right below the original stitching line.
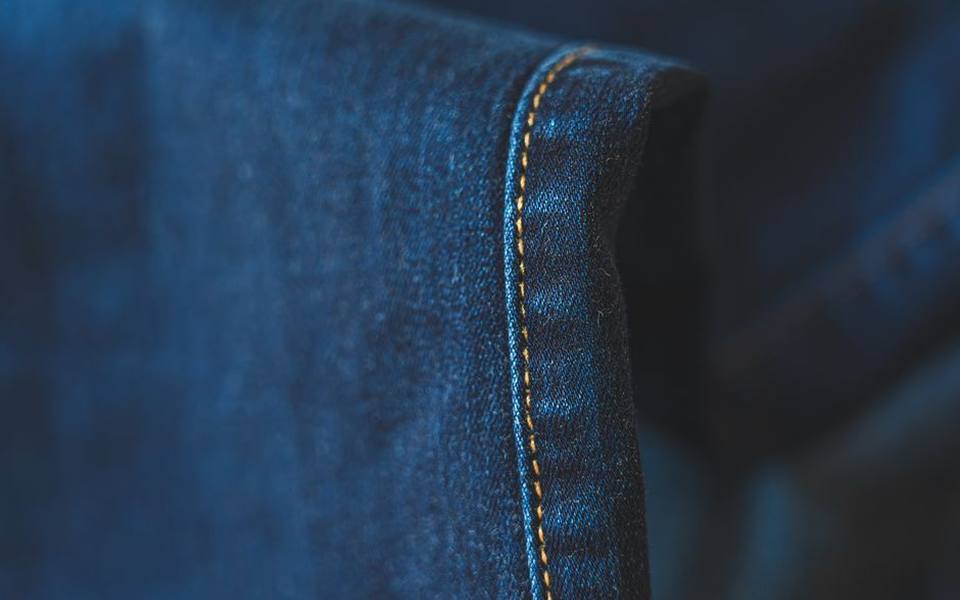
After pinning the fold securely around the leg circumference, attach a zipper foot or narrow edge-joining foot to your machine. Stitch directly beneath the thick factory seam line, guiding the needle as close to the hard ridge as possible without climbing over it. Once sewn, flip the original hem back down toward your shoes; the excess fabric now hides neatly inside the pant leg, preserving the authentic wash line outside.
For heavier raw denim or work trousers, standard sewing needles will bend or break upon striking bulky side seams. Upgrading your setup at quilt shops with sewing machine sales to include size 100/16 or 110/18 jeans needles makes a dramatic difference. You can also tap thick flat-felled side seams with a wooden mallet before stitching to compress dense cotton fibers and prevent skipped stitches.
Attaching Decorative and Utility Patches Securely
Patches serve as both functional mends over torn fabric and creative ways to personalize jackets, backpacks, or work shirts. While many modern patches include heat-activated adhesive backing, relying solely on an iron rarely holds up through repeated wash cycles or outdoor friction. Applying heat helps anchor the patch in place initially, but a stitched border guarantees the edges will never curl or peel away over time.
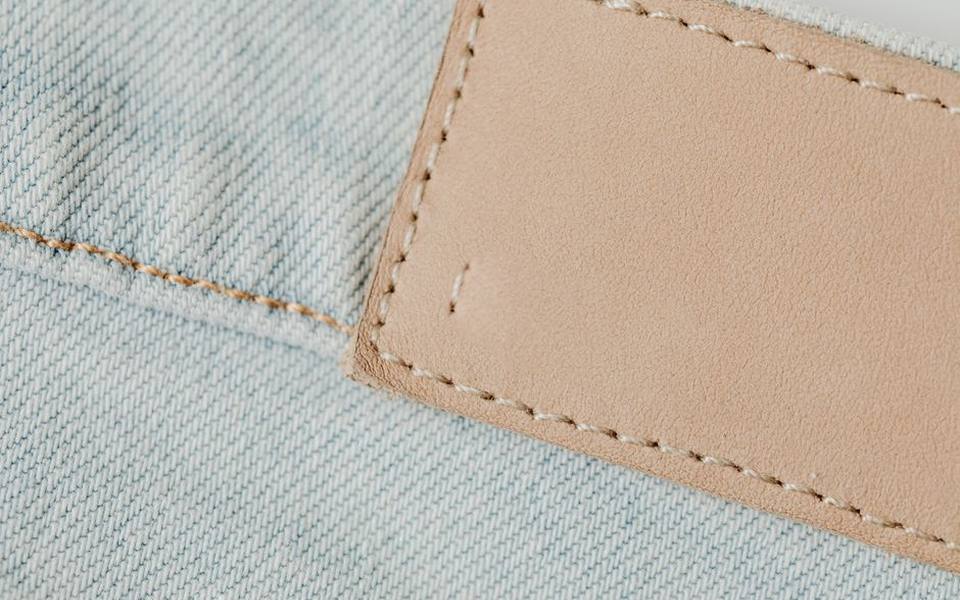
To sew a patch using a machine, set your stitch selector to a medium-width zigzag with a short stitch length, creating a dense satin stitch along the outer merrowed border. Alternatively, a narrow straight stitch just inside the embroidered ridge works well if you want nearly invisible thread lines. Pin the patch firmly or use a light smear of washable fabric glue stick to prevent shifting while maneuvering the garment around the machine arm.
Hand stitching remains the best route for tight areas like jacket sleeves, small front pockets, or heavy canvas where a sewing machine bed cannot easily slip inside. Use a sturdy polyester or nylon thread coated with beeswax, working a blind slipstitch or neat whipstitch under the thick edge border. Taking practical workshops at quilt shops with classes can help beginners gain confidence handling needles, managing fabric tension, and mastering hand-mending techniques.
Knowing When to Tackle Alterations at Home
Simple straight hems, patch applications, and minor slider adjustments fall squarely within the reach of a beginner working at a kitchen table. These routine fixes require minimal equipment: sharp fabric shears, hand needles, pins, an iron, and standard thread. Taking on your own minor repairs extends the lifespan of everyday wardrobe staples while saving recurring trips to a professional storefront.
However, complex projects involving delicate silks, tailored suit jackets with horsehair interfacings, or multi-layered bridal wear warrant professional expertise. If your household machine struggles to pierce heavy layers or begins timing irregularly after hitting dense denim, having the unit inspected at sewing machine service and repair centers ensures internal gears and tension springs remain properly aligned.
Weigh the value of the garment against the tool investment needed to alter it properly. While a spool of thread and replacement slider cost only a few dollars, purchasing specialty feet, heavy presser tools, and industrial-grade notions for a single complicated garment might not justify the effort. Tailors possess commercial blind-hemming machines and heavy walking-foot systems specifically built to produce flawless, durable finishes on demanding textiles.
Published 2026-09-20 · reviewed with each rebuild, last September 2026.
Find quilt & fabric shops near you
The directory lists 34,002 quilt & fabric shops by state and city — pick your state or use the “Near me” button in the header.
More guides
-
 Buying
Where to Buy Fabric: Sourcing Alternatives Online and Locally
-
 Buying
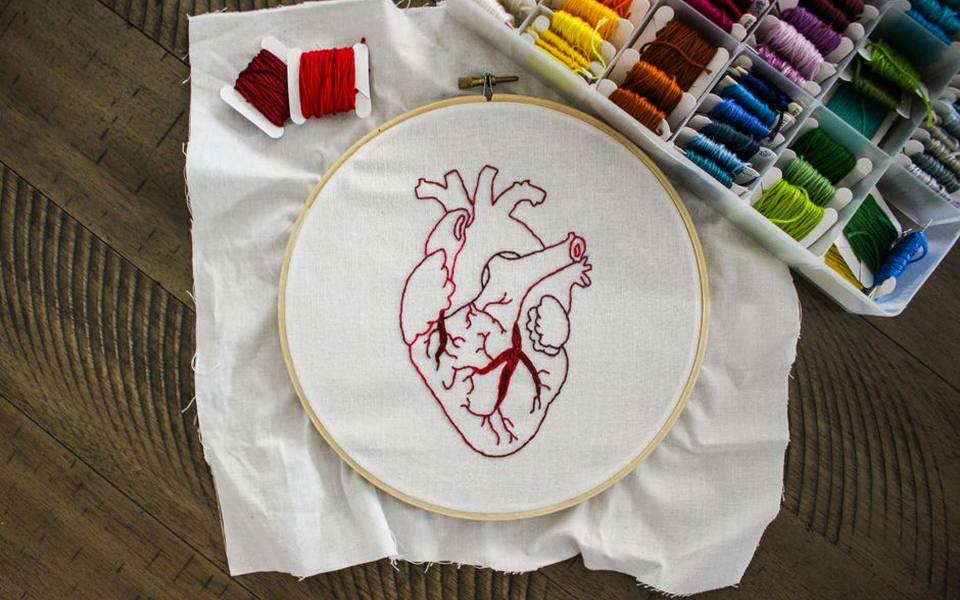
Beginner Embroidery Kits and Thread Selection: What to Know Before You Stitch
-
 Buying
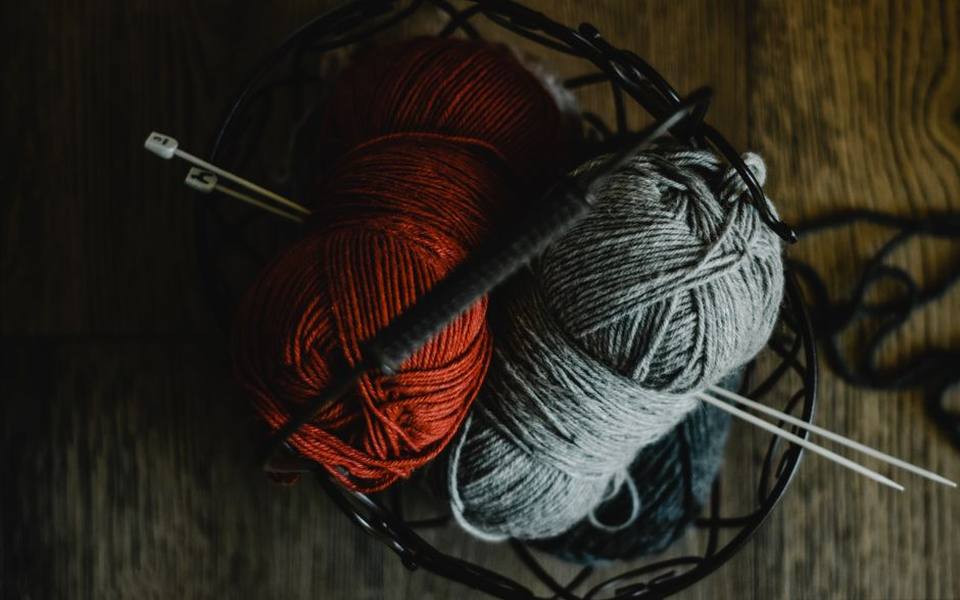
Where to Buy Yarn for Knitting and Crochet: Sourcing Guide
-
 Buying
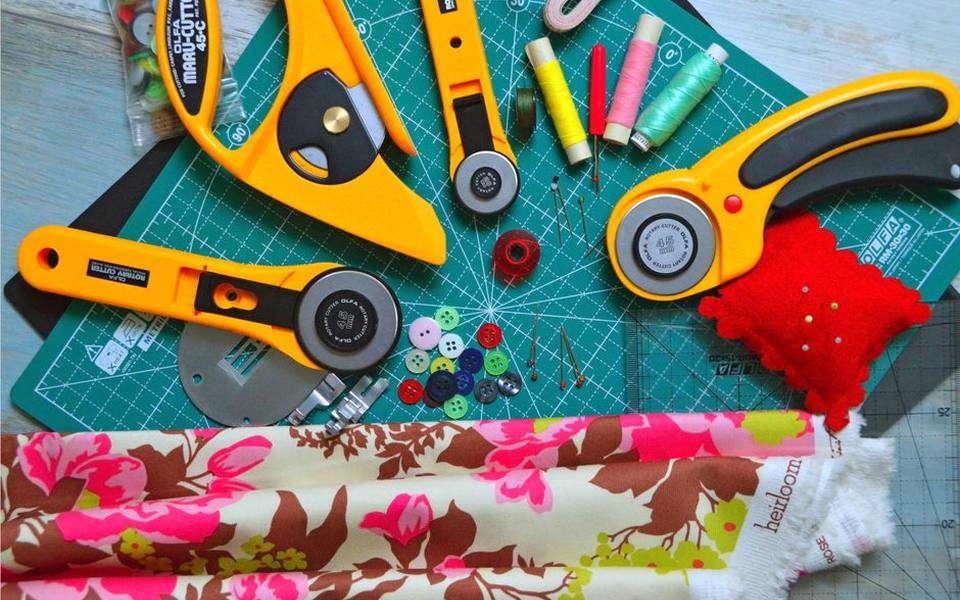
Beginner's Guide to Quilting and Essential Sewing Supplies
-
 Buying
Essential Guide to Sewing and Quilting Notions
-
 Owning
How to Make a DIY T-Shirt Quilt: Step-by-Step Guide
-
 Buying
Choosing Beginner Sewing Machines: Janome Models and Maintenance Costs