Finding the right mechanical foundation as a new stitcher
Starting your journey with a dependable stitcher comes down to choosing simplicity over an overwhelming panel of digital displays. Entry-level mechanical models built by established brands like Janome are widely regarded as prime starters because they rely on internal metal frames and straightforward dials. A solid mechanical device allows you to learn proper thread tension, bobbin winding, and pedal control without fighting software glitches or confusing touchscreen navigation. When you first sit down to practice straight lines, a predictable stitch pattern is far more valuable than a library of decorative stitches you may never use.
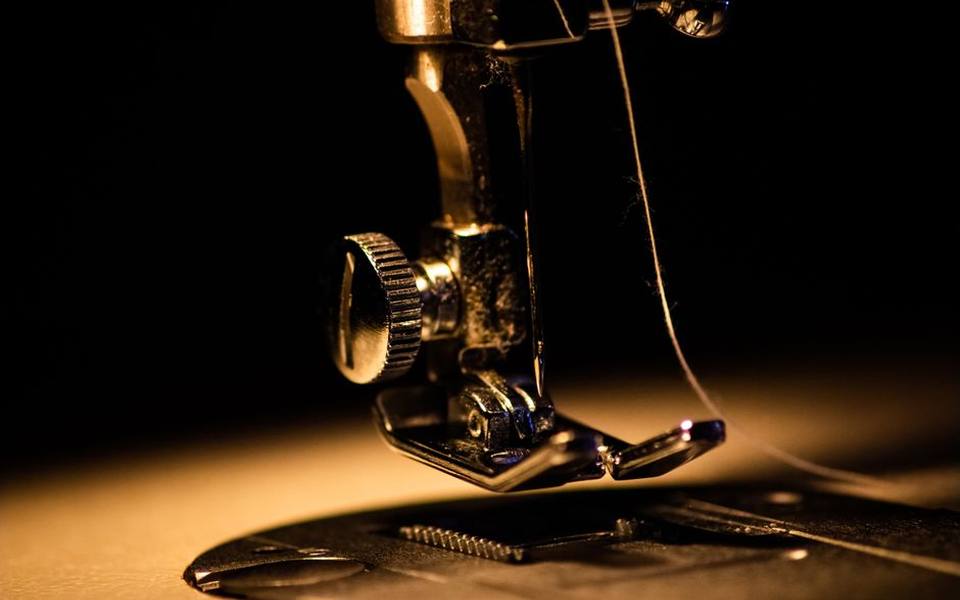
Most beginners do best with a front-loading or top drop-in bobbin system paired with a basic utility stitch assortment. Drop-in bobbins with clear plastic covers are especially forgiving for newcomers because you can monitor your thread supply in real time without removing the entire casing. Sturdy workhorses in the entry-level bracket typically offer adjustable stitch length, reverse levers, and standard zigzag capabilities that handle everything from quilting cottons to lightweight denim. Visiting quilt shops with sewing machine sales gives you an opportunity to sit down and physically test how smoothly the foot pedal responds before buying.
Build quality matters far more than stitch count during your first year of sewing. Lightweight plastic frames might make a device easy to carry, but they tend to vibrate across the table when stitching through multiple fabric layers. A machine with internal cast aluminum components stays planted, keeps motor timing stable, and delivers uniform stitches even if you make a mistake with fabric feeding. Spending your budget on mechanical durability rather than computer gimmicks ensures your starter unit will survive the learning curve without requiring immediate mechanical adjustments.
What entry-level machines cost to bring home
The purchase price for beginner-friendly models varies noticeably depending on whether you choose a no-frills mechanical design or a computerized stepping stone. Basic mechanical units from reputable manufacturers typically start somewhere between one hundred fifty and three hundred dollars, depending on local retail inventory and included accessory kits. At this tier, you get essential feet, manual tension knobs, and a reliable motor capable of handling standard home decor projects, garment mending, and quilt piecing without bogging down.
Moving into entry-level computerized models generally increases the investment to a range between four hundred and eight hundred dollars. These higher-tier starter machines introduce conveniences like automated needle up/down positioning, push-button thread cutters, and automatic tension sensors that reduce manual guesswork. While computerized features undeniably speed up repetitive tasks, they also come with sensitive circuit boards that require a cleaner operating environment and slightly more cautious handling around dust and static electricity.
When calculating what you are prepared to spend, always set aside a small portion of your budget for immediate accessories. Factory boxes usually include only two or three basic presser feet and a handful of starter bobbins. You will likely want to purchase a walking foot for quilting layers, extra needles suited for different fabric weights, and quality thread from the very first week. Buying a moderately priced, durable mechanical unit often leaves enough room in your pocket to purchase the notions that make learning genuinely enjoyable.
Budgeting for professional tune-ups and mechanical repairs
Every sewing machine contains tightly calibrated mechanical assemblies that drift out of alignment over hundreds of hours of vibration and fabric friction. Routine maintenance is not just for broken equipment; an annual inspection keeps the hook timing sharp and the feed dogs balanced. In most states, a standard professional tune-up typically costs between eighty and one hundred sixty dollars, though the final price depends on whether the unit is mechanical or computerized and whether replacement parts like bobbin cases or belts are needed.
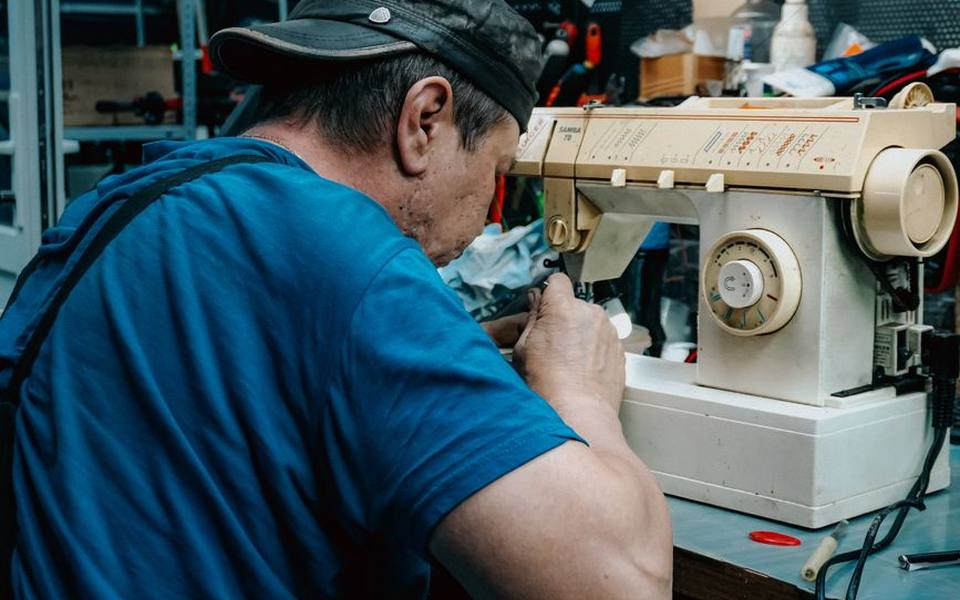
A full tune-up goes far beyond blowing dust out of the bobbin compartment. A qualified service technician removes outer housing panels to degrease moving linkages, inspects internal gears for wear, resets upper and lower thread clearances, and balances motor drive belts. If your needle strikes a hidden pin or heavy seam, timing gears can slip by a millimeter, causing skipped stitches or broken needles. Seeking out experienced sewing machine repair restores exact synchronization that is nearly impossible to fix accurately with household hand tools.
Major repairs involving motor replacements or circuit board failures can quickly approach the replacement value of a budget unit. For an entry-level machine purchased under two hundred dollars, an extensive repair bill exceeding one hundred fifty dollars might prompt you to consider upgrading instead. However, for well-crafted mechanical units, routine annual servicing pays for itself by preventing motor strain and preserving crisp stitch quality for ten or fifteen years without major component failures.
Renting equipment or renting studio time before buying
If you are hesitant to commit several hundred dollars before knowing whether garment making or quilting will hold your interest, temporary access is a practical route. Traditional standalone machine rentals for home use are relatively rare due to shipping risks and liability, but many independent fabric centers and maker spaces provide studio rental programs. You can often rent dedicated bench time by the hour or day, utilizing high-grade classroom units under the casual supervision of knowledgeable retail staff.
Taking part in community workshops is another cost-effective way to get hands-on experience with popular models without making a financial commitment upfront. Enrolling in sessions at quilt shops with beginner classes lets you operate floor equipment, learn essential threading habits, and see firsthand how different presser feet behave on real projects. Instructors can observe your posture, show you how to thread tricky tension guides, and explain machine quirks in real time.
Renting studio space or attending workshop sessions also exposes you to multiple brands and mechanical layouts side by side. You might discover that you prefer a top-loading bobbin system over a front-facing metal shuttle, or that a built-in needle threader is an absolute necessity for your eyesight. Testing equipment in a working classroom eliminates expensive trial-and-error purchases and ensures that when you finally bring a machine home, it matches your personal workflow.
Everyday maintenance steps to keep service costs low
The easiest way to minimize trips to the repair counter is developing a strict routine of at-home cleaning after every finished project. Fabric fibers and batting shed microscopic lint that collects inside the bobbin race, under the feed dogs, and around the thread cutter. Over time, compacted lint absorbs ambient moisture and oil, turning into a dense felt that jams the hook mechanism and causes tension spikes. Using a small nylon brush to sweep out these crevices every few sewing sessions prevents friction buildup.
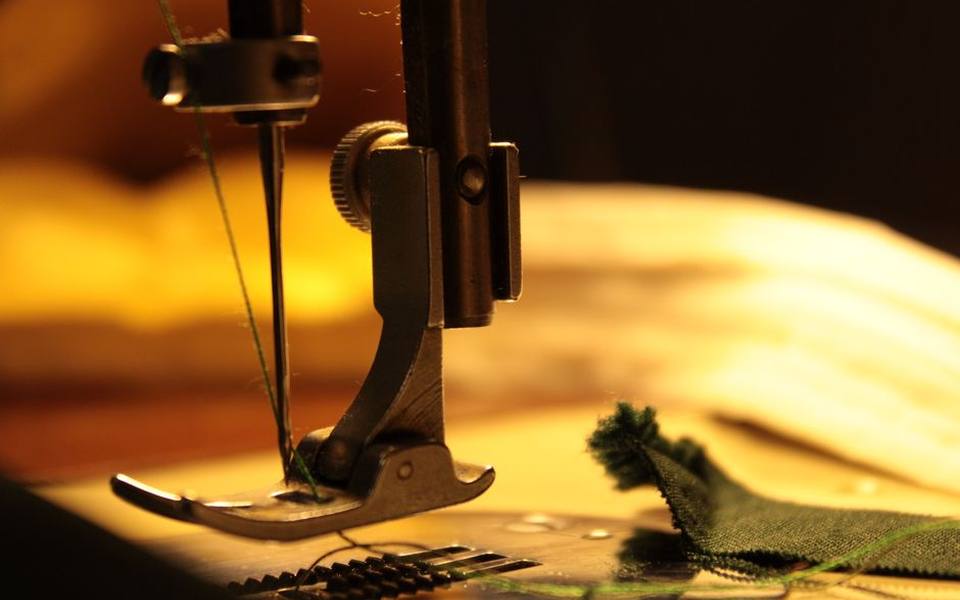
Needle care is the second most critical factor in machine health that beginners frequently overlook. Sewing machine needles are designed to last roughly six to eight hours of active stitching before the tip dulls or develops microscopic burrs. A dull needle punches rather than pierces through fabric weaves, deflecting into the throat plate, nicking the bobbin basket, and knocking internal timing out of alignment. Swapping in a fresh needle suited to your material weight protects your machine's mechanical internals from unnecessary stress.
Lubrication requires close attention to your manufacturer's specific documentation. Modern computerized and entry-level mechanical designs often use self-lubricating sintered bronze bearings, meaning they require zero internal oiling from the user. Adding conventional oil to unsealed plastic or electronic components can attract dirt and degrade electrical contacts. Only apply certified sewing oil to designated metal pivot points specified in your user manual, and never use general household lubricants or spray oils under any circumstances.
Published 2026-09-20 · reviewed with each rebuild, last September 2026.
Find quilt & fabric shops near you
The directory lists 34,002 quilt & fabric shops by state and city — pick your state or use the “Near me” button in the header.
More guides
-
 Buying
Where to Buy Fabric: Sourcing Alternatives Online and Locally
-
 Service
DIY Zipper Repair and Simple Clothing Alterations Guide
-
 Buying
Beginner Embroidery Kits and Thread Selection: What to Know Before You Stitch
-
 Buying
Where to Buy Yarn for Knitting and Crochet: Sourcing Guide
-
 Buying
Beginner's Guide to Quilting and Essential Sewing Supplies
-
 Buying
Essential Guide to Sewing and Quilting Notions
-
 Owning
How to Make a DIY T-Shirt Quilt: Step-by-Step Guide