Starting with the absolute cutting essentials
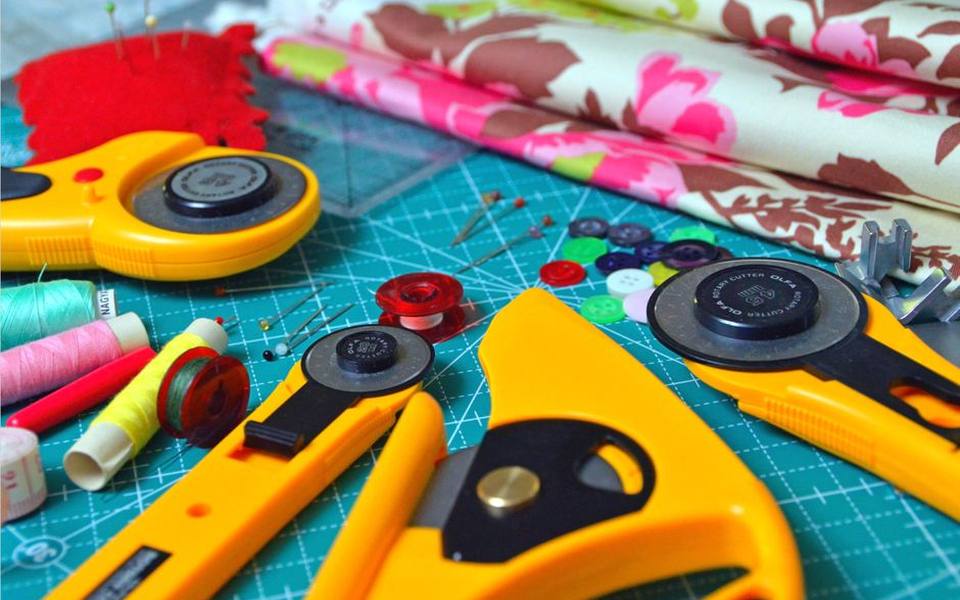
Starting your first quilt does not require a room full of specialty notions, but having a few dedicated cutting tools makes every step significantly easier and more accurate. Quilting relies on clean geometric shapes, which means standard household scissors will quickly lead to uneven seams and mismatched corners. A beginner toolkit starts with three fundamental items: a rotary cutter, an acrylic ruler, and a self-healing cutting mat. These three tools work together as a unified system, allowing you to slice through multiple layers of cotton cleanly and quickly.
When choosing your first rotary cutter, a 45mm blade diameter is the standard choice for all-around patchwork. It handles both straight strips and smaller shapes without requiring excessive wrist pressure. Pair this with a self-healing mat that measures at least 18 by 24 inches. While smaller mats fit into tight desk spaces, they force you to constantly shift your yardage, which often results in accidental folds and crooked cuts. A medium-sized mat provides ample workspace while remaining portable enough to carry to community tables.
Your primary ruler should ideally measure 6 by 24 inches with clear, high-contrast grid lines. This length accommodates standard folded quilting cotton straight off the bolt, letting you cut long strips in a single pass. Look for rulers with marked 45-degree and 60-degree angle lines, which will come in handy as your patchwork skills progress. Transparent acrylic with slightly textured grip pads on the underside prevents the ruler from slipping while you apply pressure along the edge of the blade.
Selecting sewing machines and basic workspace supplies
You do not need an expensive computerized embroidery machine to piece a durable, beautiful quilt top. In fact, a straightforward mechanical or entry-level electronic machine that produces a consistent straight stitch is all you need for your first several projects. When exploring quilt shops with sewing machine sales, test the pedal sensitivity and examine how smoothly the machine feeds standard cotton fabric. Adjustable needle positions and a reliable quarter-inch presser foot are the two features that will benefit you most as a new quilter.
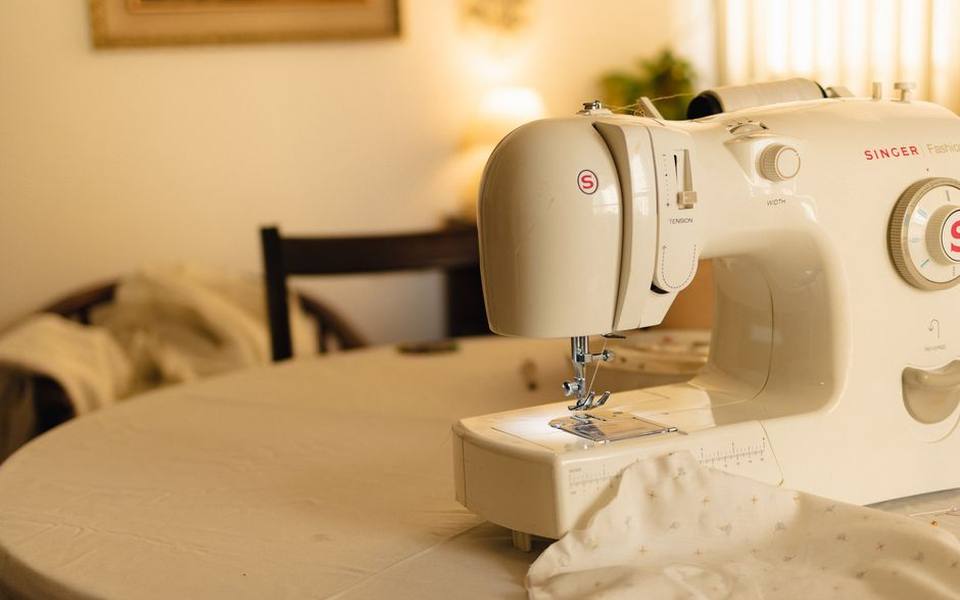
Maintaining your equipment early on prevents skipped stitches and tension headaches down the road. Lint builds up rapidly when working with natural cotton batting and fabric, so keeping a small cleaning brush and fresh universal sewing needles on hand is essential. Replacing your needle after every eight to ten hours of sewing time keeps punctures clean and protects your bobbin case. If you dust off an older family machine from storage, taking it to a professional technician for sewing machine service and tune-ups ensures the timing and internal lubricants are fully operational before you begin.
Beyond the machine itself, invest in quality fifty-weight neutral cotton thread in light gray, beige, or off-white. Neutral tones blend seamlessly into seams across diverse fabric prints, eliminating the need to purchase individual spools for every color in your pattern. Add a box of fine glass-head quilting pins, which will not melt if touched accidentally by a hot iron, along with a reliable seam ripper. Every quilter uses a seam ripper regularly, so consider it a precision correction tool rather than a sign of mistakes.
The value of taking an introductory quilting class
While online tutorials provide helpful visual overviews, learning in an interactive environment provides immediate feedback that saves hours of trial and error. Enrolling in local quilt workshops and classes allows an experienced instructor to observe your hand placement, posture, and cutting technique in real time. Small adjustments, such as how you press seams or guide fabric past the feed dogs without pulling, make an immediate difference in whether your finished blocks come out square.
Introductory classes also break the entire quilting journey down into manageable weekly milestones. A typical beginner curriculum starts with fabric grain orientation and accurate rotary cutting, progresses to sewing an exact quarter-inch seam allowance, and moves through block construction before touching on sandwiching and binding. This structured pacing prevents the cognitive overload that often happens when trying to absorb every stage of quilt making at home on your own.
Working in a shared studio space also exposes you to different project styles and equipment setups. You get to observe how other beginners navigate pattern instructions, handle seam pressing, and select color palettes. Instructors usually provide a curated supply list before the first session, preventing you from spending money on gadgets or notions that may not suit your preferred style of piecing.
Picking fabric and planning your first simple pattern
Fabric selection can easily feel overwhelming given the thousands of prints available on independent shop shelves. For your inaugural project, stick entirely to high-density, 100 percent quilting cotton. Quilting cotton holds crisp pressed folds, does not stretch out of shape during piecing, and washes reliably over decades of use. Avoid stretchy knits, rayon, or heavy upholstery fabrics until you have mastered basic tension control and seam accuracy on standard woven cottons.
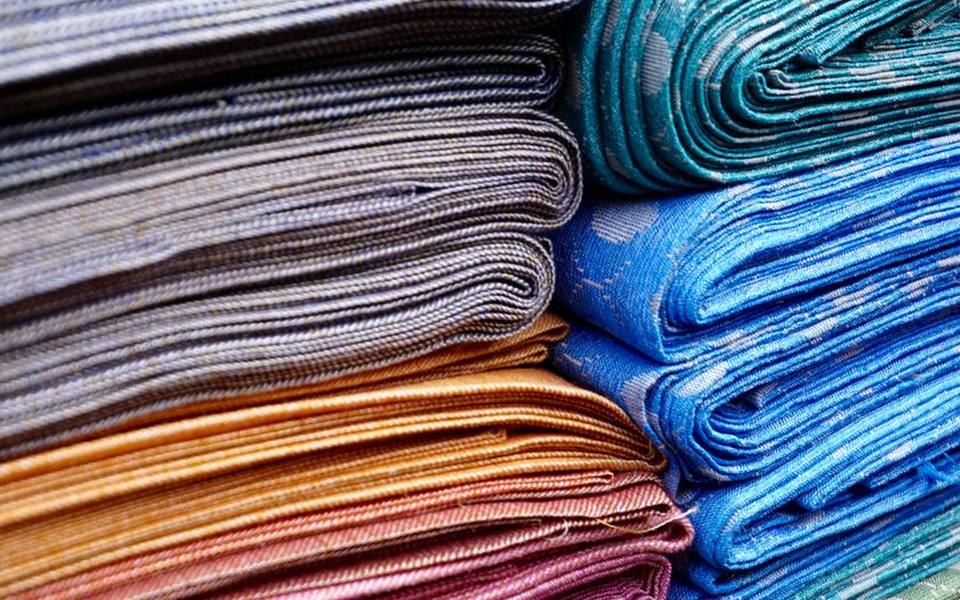
Precut fabric bundles, such as charm packs containing five-inch squares or layer cakes containing ten-inch squares, are excellent starting points for novices. These bundles feature coordinated collections designed by textile artists, which takes the guesswork out of color theory and tonal balance. Because the fabric pieces are factory-cut with straight edges, you can spend more of your early sessions practicing seam consistency rather than worrying about initial cutting accuracy.
Aim for a simple pattern based on grid blocks, such as a four-patch, nine-patch, or simple horizontal strip quilt. Keeping shapes strictly rectangular eliminates the need to sew bias edges, which can stretch and warp easily under the presser foot. A small finished size, such as a baby quilt or a table runner, allows you to master the full lifecycle of quilting without getting trapped under yards of heavy fabric at your kitchen table.
Assembling layers and deciding on final quilting
Once your patchwork top is pieced and pressed flat, you will assemble the quilt sandwich, which consists of the backing fabric, the batting in the middle, and your pieced top. Cotton batting is standard for beginners because it clings slightly to woven fabric, reducing slippage while you pin or spray baste the layers together. Low-loft batting is much easier to manage under a standard home sewing machine arm than thick polyester alternatives, keeping bulk to a minimum.
Securing these three layers together is called basting, and it must be done thoroughly before any stitching begins. Curved safety pins placed every four to five inches across the surface will keep the layers smooth and prevent puckering on the underside. Take time to tape your backing fabric flat to a hard, uncarpeted floor or large table before layering your batting and top. Smoothing wrinkles outward from the center outward ensures the completed blanket lies flat when washed.
For finishing the layers, straight-line quilting using a walking foot attachment is the most dependable method for home sewing machines. Alternatively, if your project is large or you want complex decorative stitching without the physical strain, many makers outsource this final stage to specialized providers offering longarm quilting services. Longarm operators mount your layers onto heavy-duty frame systems, producing consistent, automated stitching across wide widths in a fraction of the time.
Published 2026-09-20 · reviewed with each rebuild, last September 2026.
Find quilt & fabric shops near you
The directory lists 34,002 quilt & fabric shops by state and city — pick your state or use the “Near me” button in the header.
More guides
-
 Buying
Where to Buy Fabric: Sourcing Alternatives Online and Locally
-
 Service
DIY Zipper Repair and Simple Clothing Alterations Guide
-
 Buying
Beginner Embroidery Kits and Thread Selection: What to Know Before You Stitch
-
 Buying
Where to Buy Yarn for Knitting and Crochet: Sourcing Guide
-
 Buying
Essential Guide to Sewing and Quilting Notions
-
 Owning
How to Make a DIY T-Shirt Quilt: Step-by-Step Guide
-
 Buying
Choosing Beginner Sewing Machines: Janome Models and Maintenance Costs