Choosing Your First Craft or Tailor Stitcher
Starting your journey with garment making or patchwork begins with finding an approachable mechanical or entry-level electronic stitcher. A sensible starter stitcher balances straightforward dials with reliable feed dogs and balanced thread tension, avoiding overly complex computerized menus that can overwhelm new makers. Most newcomers find success with standard domestic models that offer straight stitch, zigzag, and a four-step or one-step buttonhole. Investing in a straightforward layout allows you to develop muscle memory for seam allowances, pedal control, and fabric handling without navigating digital display errors.
When browsing store shelves or online listings, the priority should always rest on chassis stability and smooth bobbin winding. Lightweight plastic gear housings can wobble at higher speeds, leading to skipped stitches or uneven tension across simple cotton calicos. Visiting reputable quilt shops with sewing machine sales & service gives you the chance to sit down and run test stitches through denim and lightweight voile. A reliable starter unit should feel responsive under foot pressure, producing a crisp, even line of stitches on standard muslin without sudden thread bunching or alarming motor groans.
Consider what everyday tasks you intend to tackle right out of the gate. If your primary goal is garment alterations, basic home decor, or simple tote bags, a simple mechanical unit provides ample capability while remaining straightforward to clean and maintain. Modern entry models feature top-drop bobbin systems with transparent plates, which let you monitor thread reserves before running empty mid-seam. Choosing an intuitive workhorse from the outset prevents initial frustration and builds confidence as your creative projects grow in complexity.
Comparing Popular Singer and Brother Starter Models
Brand reputation often narrows a beginner's search down to legacy names like Singer and Brother, each offering distinct advantages for everyday home sewing. A classic Singer beginner sewing machine typically features heavier internal metal frames, straightforward dial adjustments, and simple mechanical stitch selectors built for utilitarian resilience. Many crafters appreciate the intuitive layout of traditional dials when learning tension adjustment and stitch width basics. These workhorses manage medium-weight canvas, quilting cotton, and denim hems reliably when paired with the proper needle point.
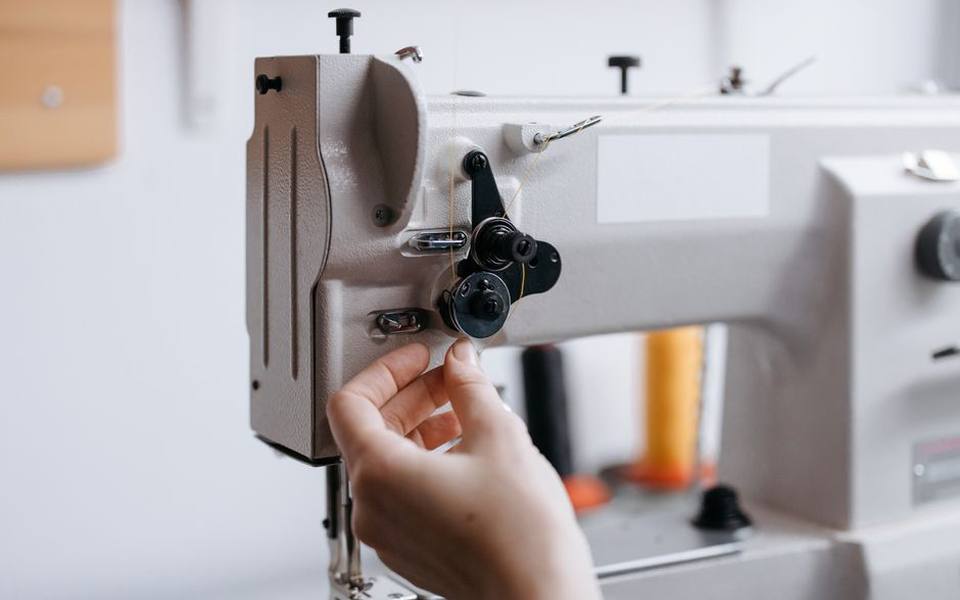
In contrast, a Brother beginner sewing machine frequently leans toward user-friendly conveniences such as automatic needle threaders, quick-set drop-in bobbins, and lightweight portability. These models often appeal to hobbyists attending local community workshops or traveling between crafting circles. Their electronic interfaces provide clear visual guidance for presser foot pairings and stitch lengths, reducing guesswork for novice garment makers. Both brands offer robust entry options, though your preference may depend on whether you prioritize mechanical heft or digital ease of use.
Before finalizing a purchase, test how easily you can swap presser feet, wind bobbins, and switch into reverse. Some budget platforms produce higher motor noise or vibration at top stitching speeds, which can affect precision seamlines. Comparing these brands in person at local specialty retailers allows you to evaluate motor responsiveness and pedal travel. Choosing between them comes down to personal comfort, noise tolerance, and how easily you can source compatible accessories in your local crafting community.
Understanding the Role of a Walking Foot Attachment
A walking foot sewing machine setup utilizes a specialized mechanical attachment that feeds multiple layers of fabric evenly through the needle plate. While standard feed dogs pull only the bottom textile layer, the walking foot incorporates an upper set of gripping teeth driven by the needle clamp bar. This dual-action feeding prevents slippery silks, stretchy knits, and thick quilt sandwiches from shifting, bunching, or puckering as they pass beneath the needle. For beginners attempting straight-line quilting, binding, or matching plaid seams, this accessory proves indispensable.
Installing the attachment requires removing the standard presser foot and shank holder, then securing the walking foot fork over the needle clamp screw. As the needle bar rises and falls, the internal lever mechanism coordinates the forward drive of the upper teeth in perfect tandem with the lower machine feed dogs. This synchronization ensures that delicate knit hems lie flat rather than stretching into unwanted wavy edges. Many craft enthusiasts find that mastering this attachment bridges the gap between basic stitching and professional-quality finished garments.
While walking foot attachments excel at straight seams, gentle curves, and ditch stitching, they are not designed for tight reverse maneuvers or intricate decorative patterns. Attempting complex embroidery stitches with a dual-feed foot engaged can jam the mechanical lever arm or bend the needle bar. When you are ready to expand your quilting skills further, taking hands-on lessons at local quilt shops with classes can teach you the exact tension balances and seam techniques needed for flawless layered assembly.
Selecting the Right Lubricant for Domestic Machines
Routine machine care requires dedicated stitching machine oil specifically engineered to protect high-speed precision metal friction points without gumming up delicate mechanisms. Standard household spray lubricants, automotive engine greases, and cooking oils must never touch internal sewing components. General-purpose lubricants contain volatile solvents, detergents, and drying agents that attract lint, varnish moving shafts, and ultimately seize tight bronze bushings. Clean mineral-based oil for a sewing machine remains clear, lightweight, low-viscosity, and chemically inert, ensuring smooth mechanical motion without staining fabric.
Using substandard lubricants often creates gummy residues within the hook race and arm shaft bearings that stall the motor or snap drive belts. Specially formulated sewing lubricant resists thermal oxidation and prevents microscopic metal wear during extended sewing sessions. It also features a fine dropper spout or needle applicator designed to reach recessed gears without coating surrounding plastic covers. Keeping a fresh bottle of clear mineral lubricant in your notions box preserves machine longevity and maintains whisper-quiet operation across years of heavy stitching.
If you encounter an inherited stitcher that has been stored in a damp basement or attic, avoid the temptation to blast internal gears with penetrating household oils. Penetrating sprays dissolve ancient factory grease and migrate into electrical switches, motor windings, and synthetic timing belts where they cause catastrophic degradation. Instead, rely on proper sewing lubricants and specialized synthetic gear grease designed specifically for textile machinery. Taking a patient, conservative approach to lubrication safeguards both vintage metal heirlooms and modern electronic craft units.
Step-by-Step Guide to Cleaning and Oiling Moving Parts
Before beginning the process of oiling sewing machine assemblies, disconnect the power cord and foot pedal completely to eliminate any risk of accidental motor activation. Remove the spool of thread, needle, presser foot, needle plate, and bobbin case to expose the feed dogs and shuttle hook mechanism. Use a stiff nylon brush or miniature vacuum attachment to clean away compacted thread fluff, lint, and broken needle fragments. Lint naturally absorbs oil and turns into abrasive felt pads if not thoroughly brushed away prior to re-lubricating.
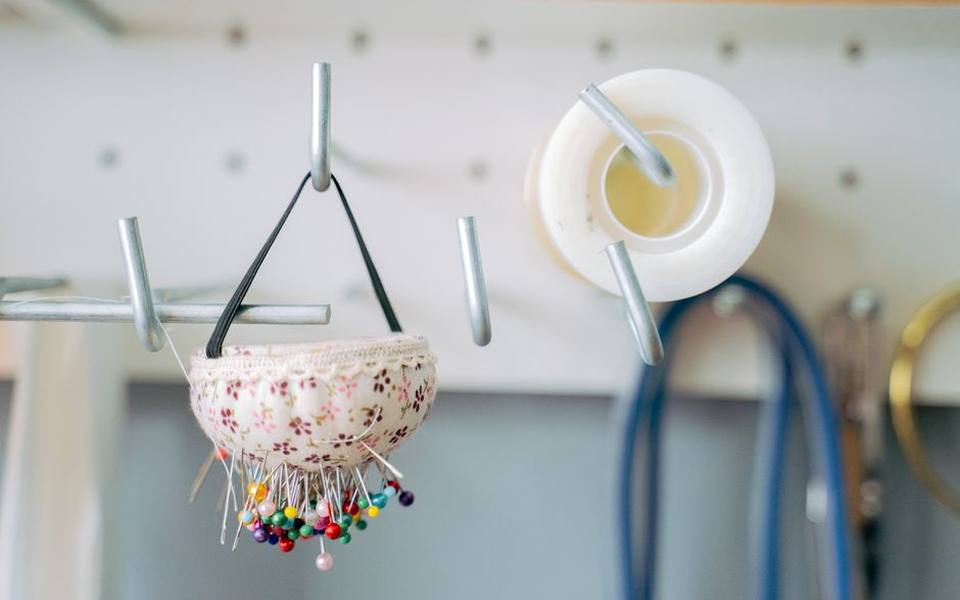
Modern computerized and electronic craft machines usually feature self-lubricating nylon or sintered bronze bearings that require oil only at designated service points, or sometimes exclusively along the metal hook race. Consult your user manual carefully before applying oil, as lubricating plastic drive gears or optical sensors will cause severe operational faults. On traditional mechanical units, place one single drop of lubricant onto the rim of the rotating shuttle hook race, inside oiling ports marked on the head casting, and on oscillating joint pivots.
After applying minimal lubricant, turn the balance handwheel toward you manually for several full rotations to distribute the oil film evenly across contact surfaces. Reinstall the bobbin carrier, stitch plate, fresh needle, and presser foot, then run several test seams across scrap fabric to absorb any microscopic excess oil before returning to fine fabrics. A sensible maintenance schedule involves cleaning out thread lint after every major project and oiling the hook race after roughly eight to ten hours of active stitching time.
Troubleshooting Common Singer Mechanical Issues
Even a reliable workhorse can run into mechanical hiccups, and knowing basic Singer machine repair methods can save hours of frustration during a major stitching deadline. The vast majority of stitching faults—such as looping bobbin thread, uneven tension, or sudden thread snapping—stem from incorrect upper threading rather than mechanical failure. Always raise the presser foot lifter fully before threading the top path, which opens the tension discs and allows the thread to seat properly between the internal tension springs.
Another frequent issue involves the needle striking the throat plate or bobbin basket, resulting in broken needles and jagged burrs on internal metal surfaces. If your needle strikes metal, inspect the needle insertion flat side to ensure it faces directly to the rear and is shoved completely up into the needle clamp bar. Burrs on the shuttle hook point can snag upper threads and cause nests beneath the fabric; carefully polishing the hook rim with micro-grit crocus cloth often resolves mysterious thread breaks without professional intervention.
When unexpected timing drift or severe motor grinding occurs, checking inside the lower drive assembly can reveal lint compaction or loose set screws. If your machine skips zigzag stitches on flexible knits or denim seams, you may simply require an alternate needle system, such as a ballpoint or stretch needle. However, if the needle bar has shifted vertical alignment or the hook timing is slipped, seeking expert Singer sewing repair through local certified technicians ensures factory alignment tolerances are accurately restored.
Fixing Traditional Tailor and Silai Craft Machines
Traditional heavy-duty treadle and hand-crank machines remain widely cherished across the world for durable garment construction, upholstery, and production tailoring. Performing tailor machine repair or classic silai machine repair on cast-iron black-head units requires a different mechanical approach than modern plastic-bodied portables. These legacy industrial and domestic stitchers rely entirely on solid steel shafts, oscillating shuttle hooks, and hardened link motions that thrive under routine lubrication and manual adjustment. Because they lack electronic boards, nearly every mechanical fault can be corrected with basic hand tools.
Common issues on traditional tailor machines include blunt feed dog teeth, improper presser bar spring tension, and gummed shuttle races packed with thread ends. Adjusting the heavy top thumb-screw increases downward pressure on thick suiting wools or denim, preventing fabric slippage during high-speed sewing. When inspecting these units, always remove the long-bobbin or round-bobbin shuttle assembly, clean out hardened oil deposits with mineral spirits, and apply fresh sewing lubricant to the oscillating driver surfaces before tightening the retaining brackets.
If you run an alterations bench or frequent local clothing workrooms, keeping these robust iron machines running smoothly is vital for daily output. When home adjustments cannot resolve severe timing skips or bent needle bars on tailored garments, consulting dedicated professionals specializing in clothing alterations, hemming and tailoring on site or local mechanical technicians restores the precise tension necessary for formal suiting, waistbands, and heavy-duty garment construction.
Knowing When to Call a Certified Service Technician
While routine brushing, surface cleaning, and light oiling fall comfortably within a home sewer's skill set, deeper mechanical and electrical problems demand certified intervention. Attempting to disassemble internal timing belts, electronic motherboard connections, or main drive shafts without specialized alignment gauges can easily render a machine permanently uncalibrated. If your stitcher emits a burning electrical smell, shows erratic motor speeds without foot pedal depression, or consistently jams the handwheel, disconnect the unit immediately and seek professional assistance.
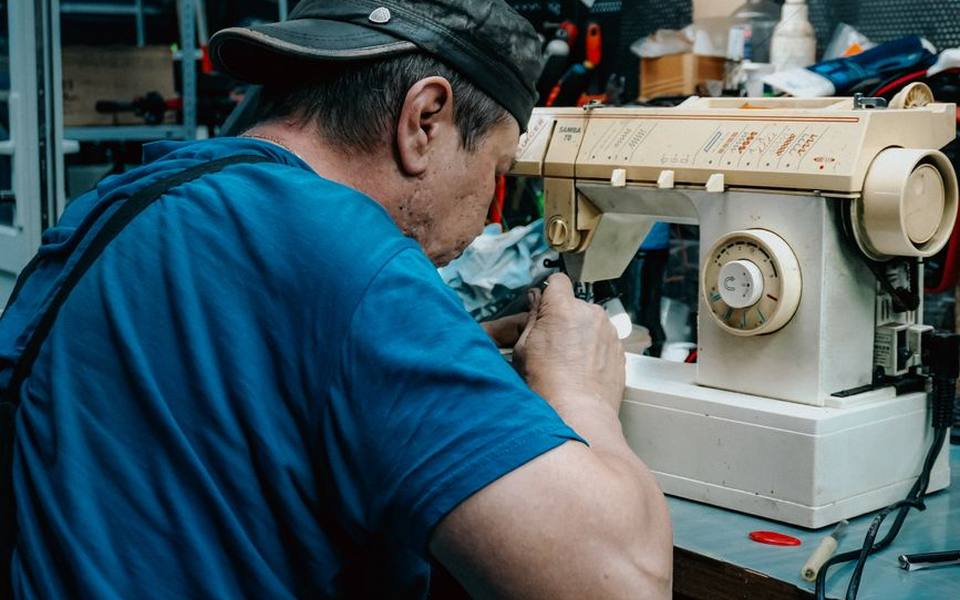
Professional service centers perform systematic diagnostic routines that go far beyond surface adjustments. Certified technicians measure needle-to-hook clearance down to fractions of a millimeter, inspect feed dog parallelism, calibrate tension assemblies with gram gauges, and update electronic control firmware. Booking comprehensive tune-ups through established sewing machine service, repair and tune-ups workshops typically restores quiet balance, sharp thread cutting, and perfect stitch formation across heavy canvas and fine silks alike.
The frequency of professional servicing depends largely on your stitching volume and machine complexity. A craft enthusiast sewing multiple days a week typically schedules an annual preventive service, while an occasional mender might visit a shop every two to three years. Technicians also replace worn internal drive belts, polish needle plate strikes, and test safety electrical grounding, ensuring that your investment provides reliable service without risking electrical shorts or ruined fabric projects.
Sourcing Spare Components and Parts Machines Wisely
Maintaining legacy mechanical stitchers often involves acquiring a secondary sewing machine for parts to salvage original cast linkages, tension assemblies, and obsolete bobbin cases. Many older models feature metal internal components that are no longer manufactured, making donor machines found at estate sales or thrift shops invaluable resources. When sourcing a donor unit, check that the critical castings, faceplates, handwheel gears, and foot pedal connectors match your model's exact engineering revision or series code.
Before harvesting components from a donor stitcher, verify the condition of high-wear items such as hook gears, tension release discs, and motor brushes. Plastic and nylon gears manufactured in certain transitional eras can become brittle over decades and develop hairline fractures along the drive teeth. Avoid buying donor units that show severe structural rust along the internal drive shafts or water damage around electrical motor blocks, as corroded parts often snap under working torque.
Online maker forums, swap meets, and independent repair benches can often help identify cross-compatible parts across shared mechanical platforms. Many manufacturers shared identical internal engineering across various branded badges during the mid-twentieth century. Salvaging genuine steel parts keeps vintage equipment operating at peak performance without compromising original mechanical tolerances or relying on ill-fitting modern replicas.
Published 2026-09-25 · reviewed with each rebuild, last September 2026.
Find quilt & fabric shops near you
The directory lists 33,981 quilt & fabric shops by state and city — pick your state or use the “Near me” button in the header.
More guides
-
 Buying
Where to Buy Fabric: Sourcing Alternatives Online and Locally
-
 Service
DIY Zipper Repair and Simple Clothing Alterations Guide
-
 Buying
Beginner Embroidery Kits and Thread Selection: What to Know Before You Stitch
-
 Buying
Where to Buy Yarn for Knitting and Crochet: Sourcing Guide
-
 Buying
Beginner's Guide to Quilting and Essential Sewing Supplies
-
 Buying
Essential Guide to Sewing and Quilting Notions
-
 Owning
How to Make a DIY T-Shirt Quilt: Step-by-Step Guide
-
 Buying
Choosing Beginner Sewing Machines: Janome Models and Maintenance Costs
-
 Buying
Jelly Rolls and Precut Fabrics: Sizes, Quilt Patterns, and Buying Guide
-
 Buying
Cross Stitch and Embroidery Supplies: Aida Cloth, Floss, Kits, and Patterns
-
 Buying
Fabric Selection Guide: Cotton, Linen, Velvet, Fleece, and Synthetic Blends
-
 Buying
Quilting Patterns, Blocks, and Techniques: From Log Cabin to Paper Piecing
-
 Service
Complete Guide to Clothing Alterations and Tailoring Services
-
 Owning
Sewing Machine Needles, Bobbins, and Thread Compatibility Guide
-
 Buying
Sunbrella and Outdoor Fabrics Guide: Selection, Cushions, and Care